
2DS XL Repair and Modding - Making my 2DS XL ready for the future [Failed Project]#
A while ago, I wanted to get a 3DS or 2DS to play some old Dragon Quest games on it. I had a 3DS XL before, but I sold it a few years ago. So I started looking for a cheap 2DS XL on eBay and found one for around 50 Euros. When I got it and inspected it, I was relieved to see that it was working and generally in ok condition. However, upon further inspection I quickly noticed that the Volume Slider was broken and the C-Stick was severely worn out.
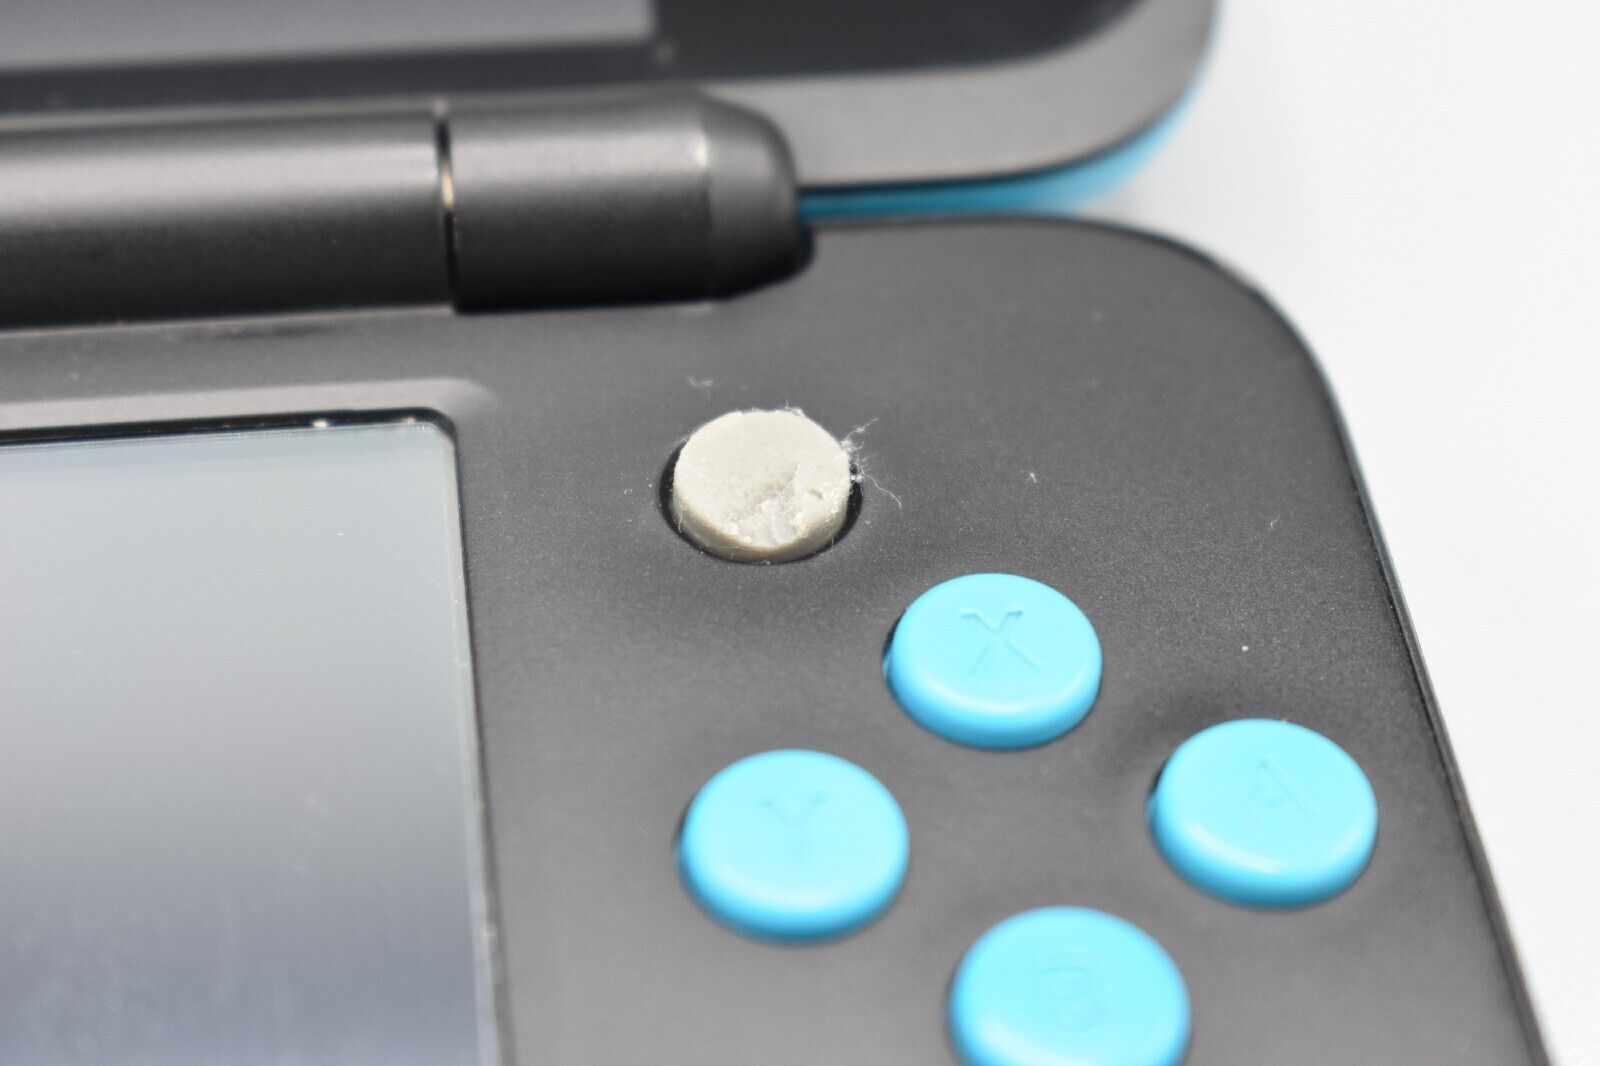
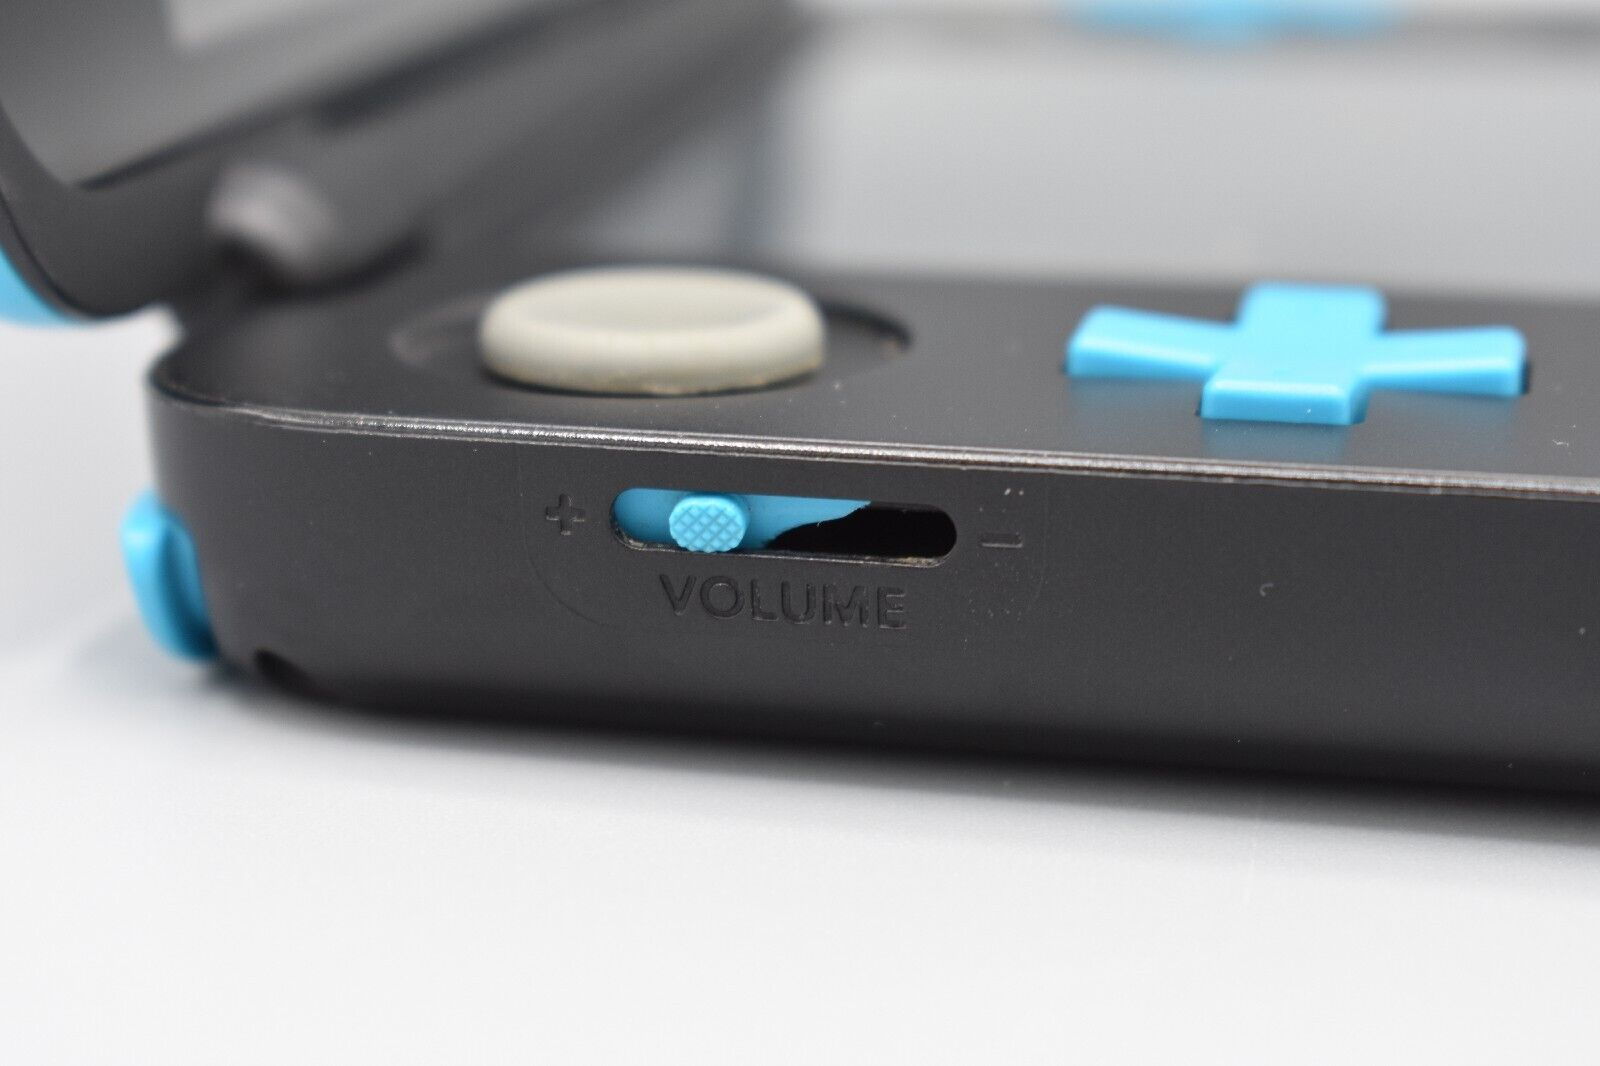
Inspired to revitalize this handheld console, I decided to undertake a repair and upgrade project. My goal is to not only fix the existing issues but also enhance the device’s functionality.
Objectives#
- Repair the volume slider: The current volume slider is broken and while it is still usable, it is not ideal. I plan to replace it with a new one, which will improve the overall look and feel of the device.
- Replace the C-Stick: The C-Stick on the 2DS XL is in poor condition, affecting its usability. To improve the gaming experience, I plan to replace it with the PSP-1000 C-Stick, known for its durability and precision.
- Replace the charging port with USB-C: The original charging port on the 2DS XL is outdated, and replacing it with a USB-C port will offer several advantages. For example, I will be able to charge the device with the same cable as my phone, and I will be able to use a USB-C power bank to charge the device on the go.
- Install custom firmware: By installing custom firmware, I can unlock additional features and software capabilities on the 2DS XL. This will allow for greater customization and homebrew applications.
Shopping List#
- PSP-1000 C-Stick ( https://de.aliexpress.com/item/33051414032.html?mp=1&gatewayAdapt=glo2deu)
- Volume Slider Replacement ( https://de.aliexpress.com/item/1005005773219349.html?mp=1&gatewayAdapt=glo2deu)
- USB-C to DIP Breakout Board ( https://de.aliexpress.com/item/1005005243146732.html?gatewayAdapt=glo2deu)
I will also need some tools like a soldering iron, a dreml and screwdrivers but I already have those and therefore won’t list them here.
Let’s get to work#
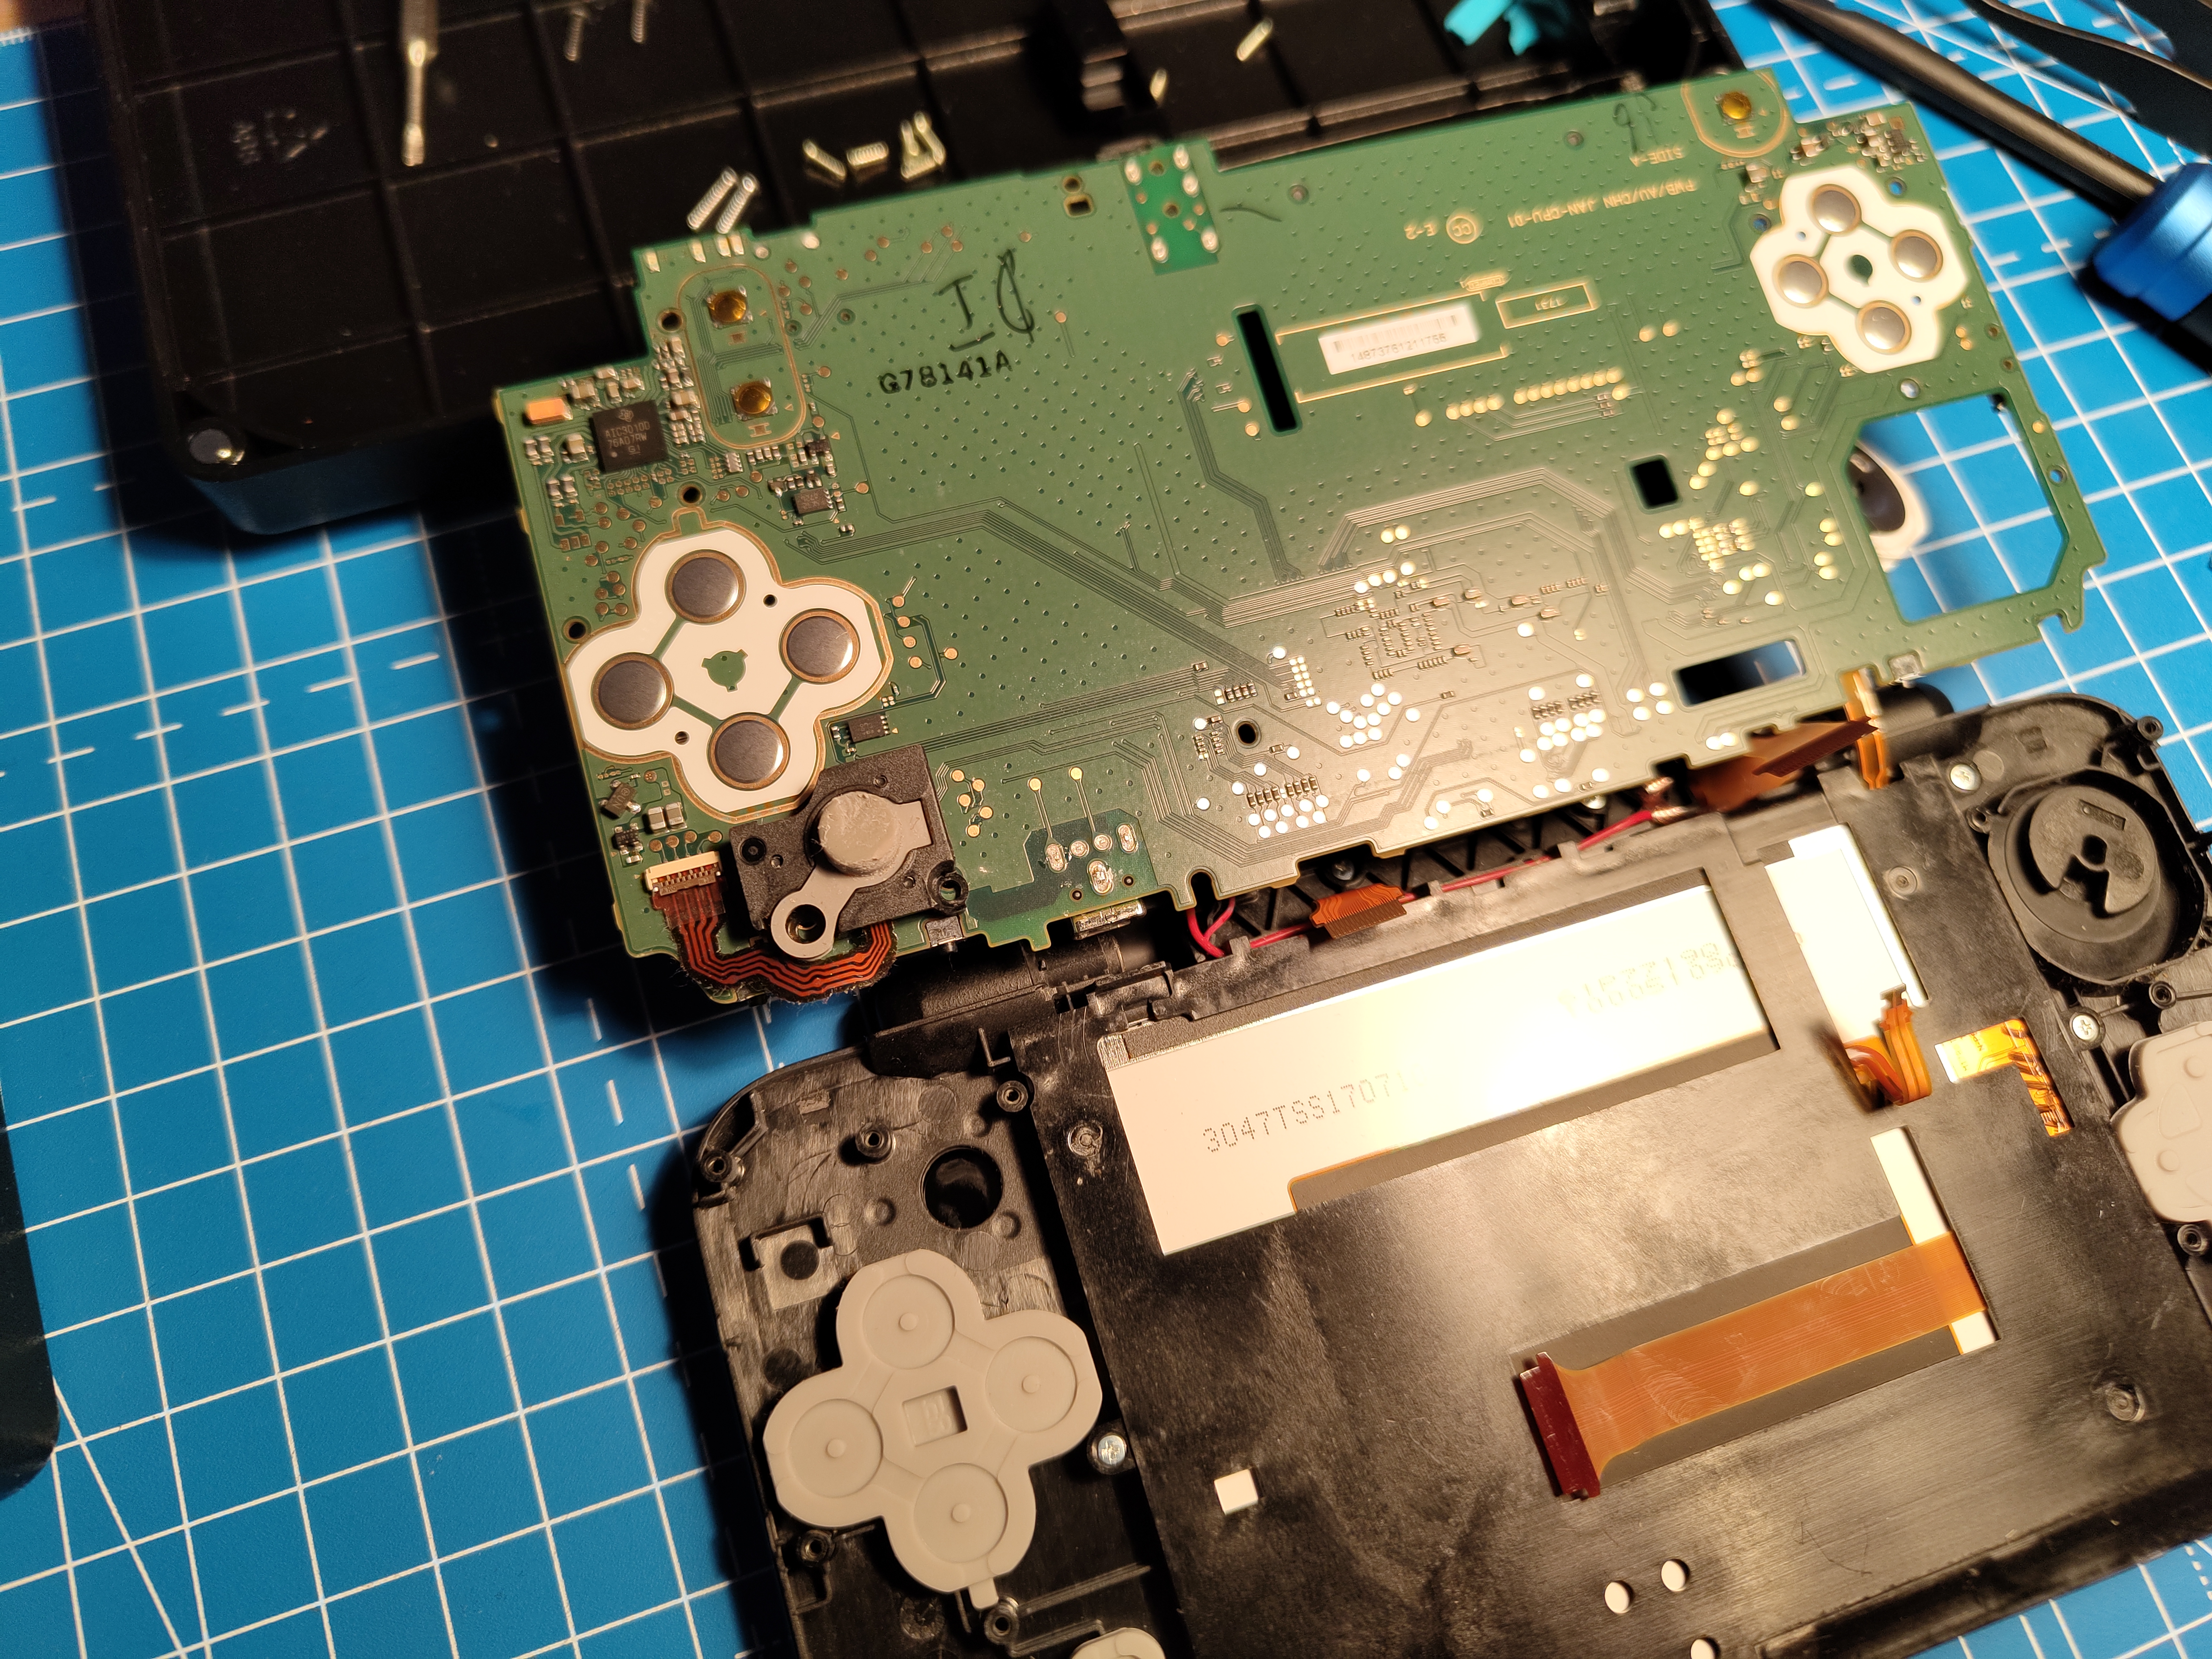
First of all, I will disassemble the 2DS XL to get a better look at the internals and to get a better idea of what I’m working with. I will also use this opportunity to clean the device and remove any dust or dirt that may have accumulated over the years.
This is a really good guide by iFixit that shows how to disassemble the 2DS XL. I’ll just follow the steps in this guide to take the device apart and won’t go into detail here. Instead, I’ll focus on the repair and modding process.
Preparing the C-Stick Mod#
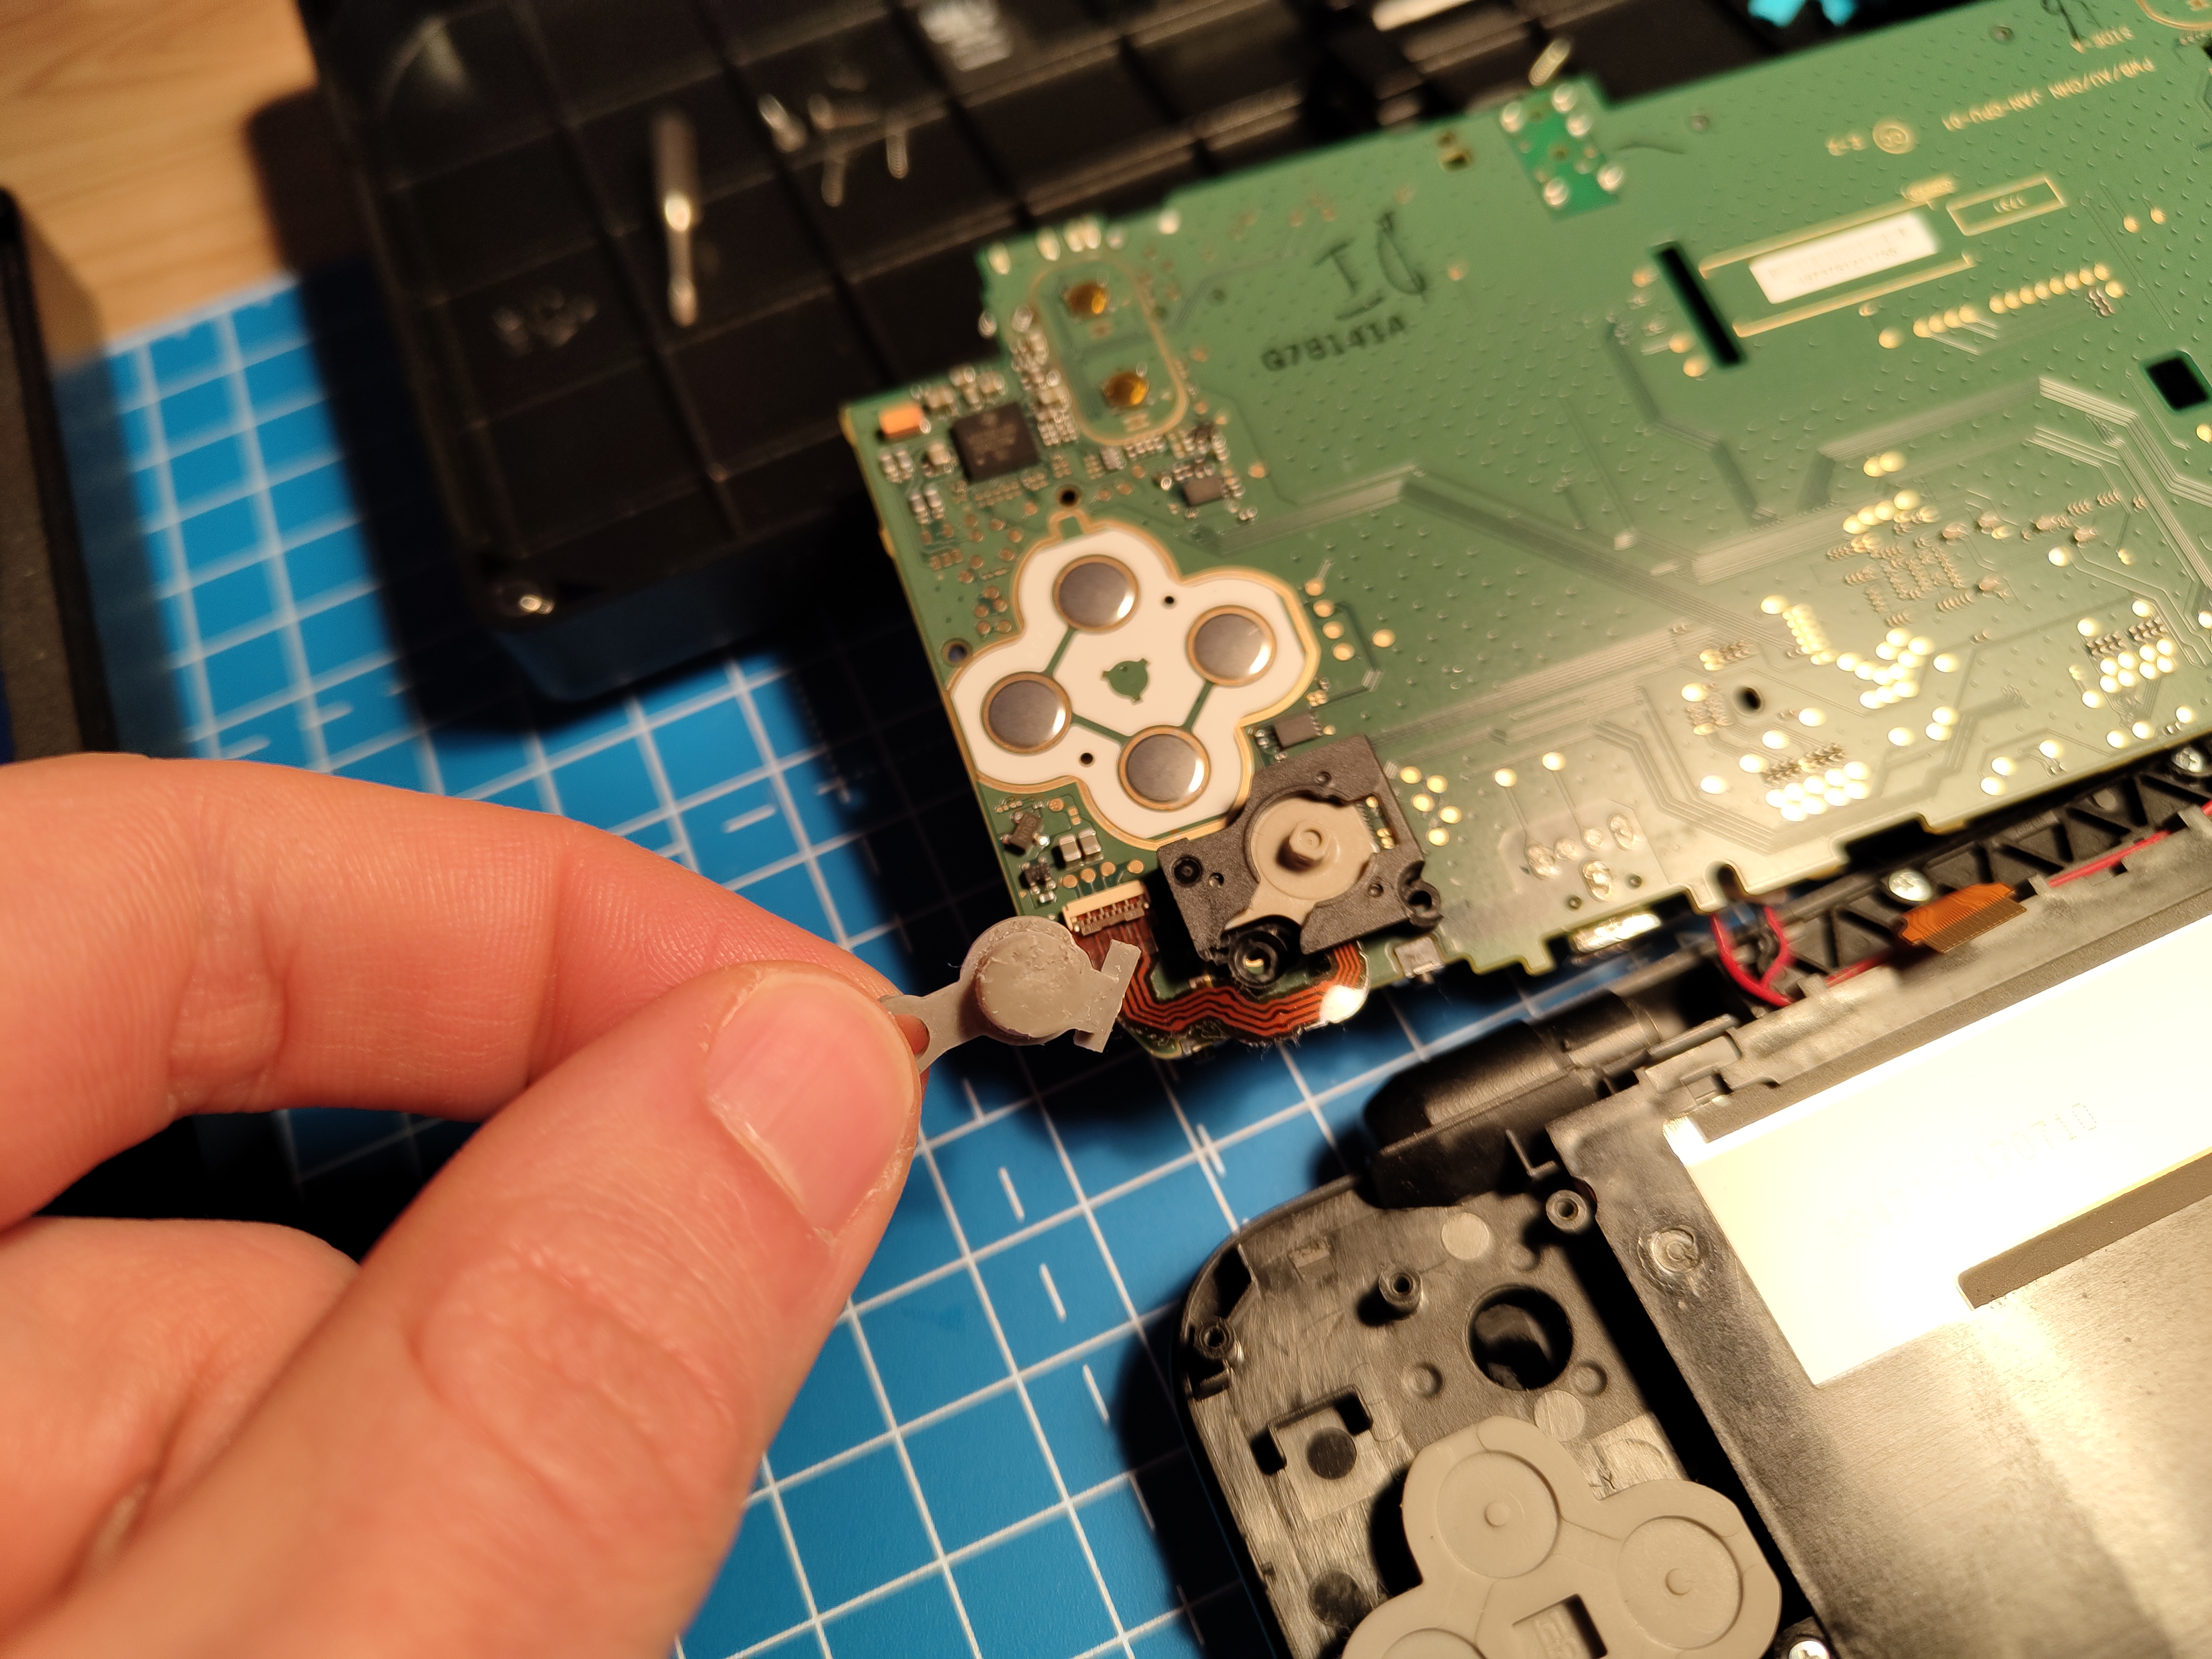
The first thing I want to prepare is the C-Stick mod. For that, I’ll remove the old C-Stick while I have the device disassembled and then I’m already done here. Once the 2DS is reassembled, I’ll be able to install the new C-Stick by just sticking it on top of the C-Stick nob.
Installing the USB-C Port#
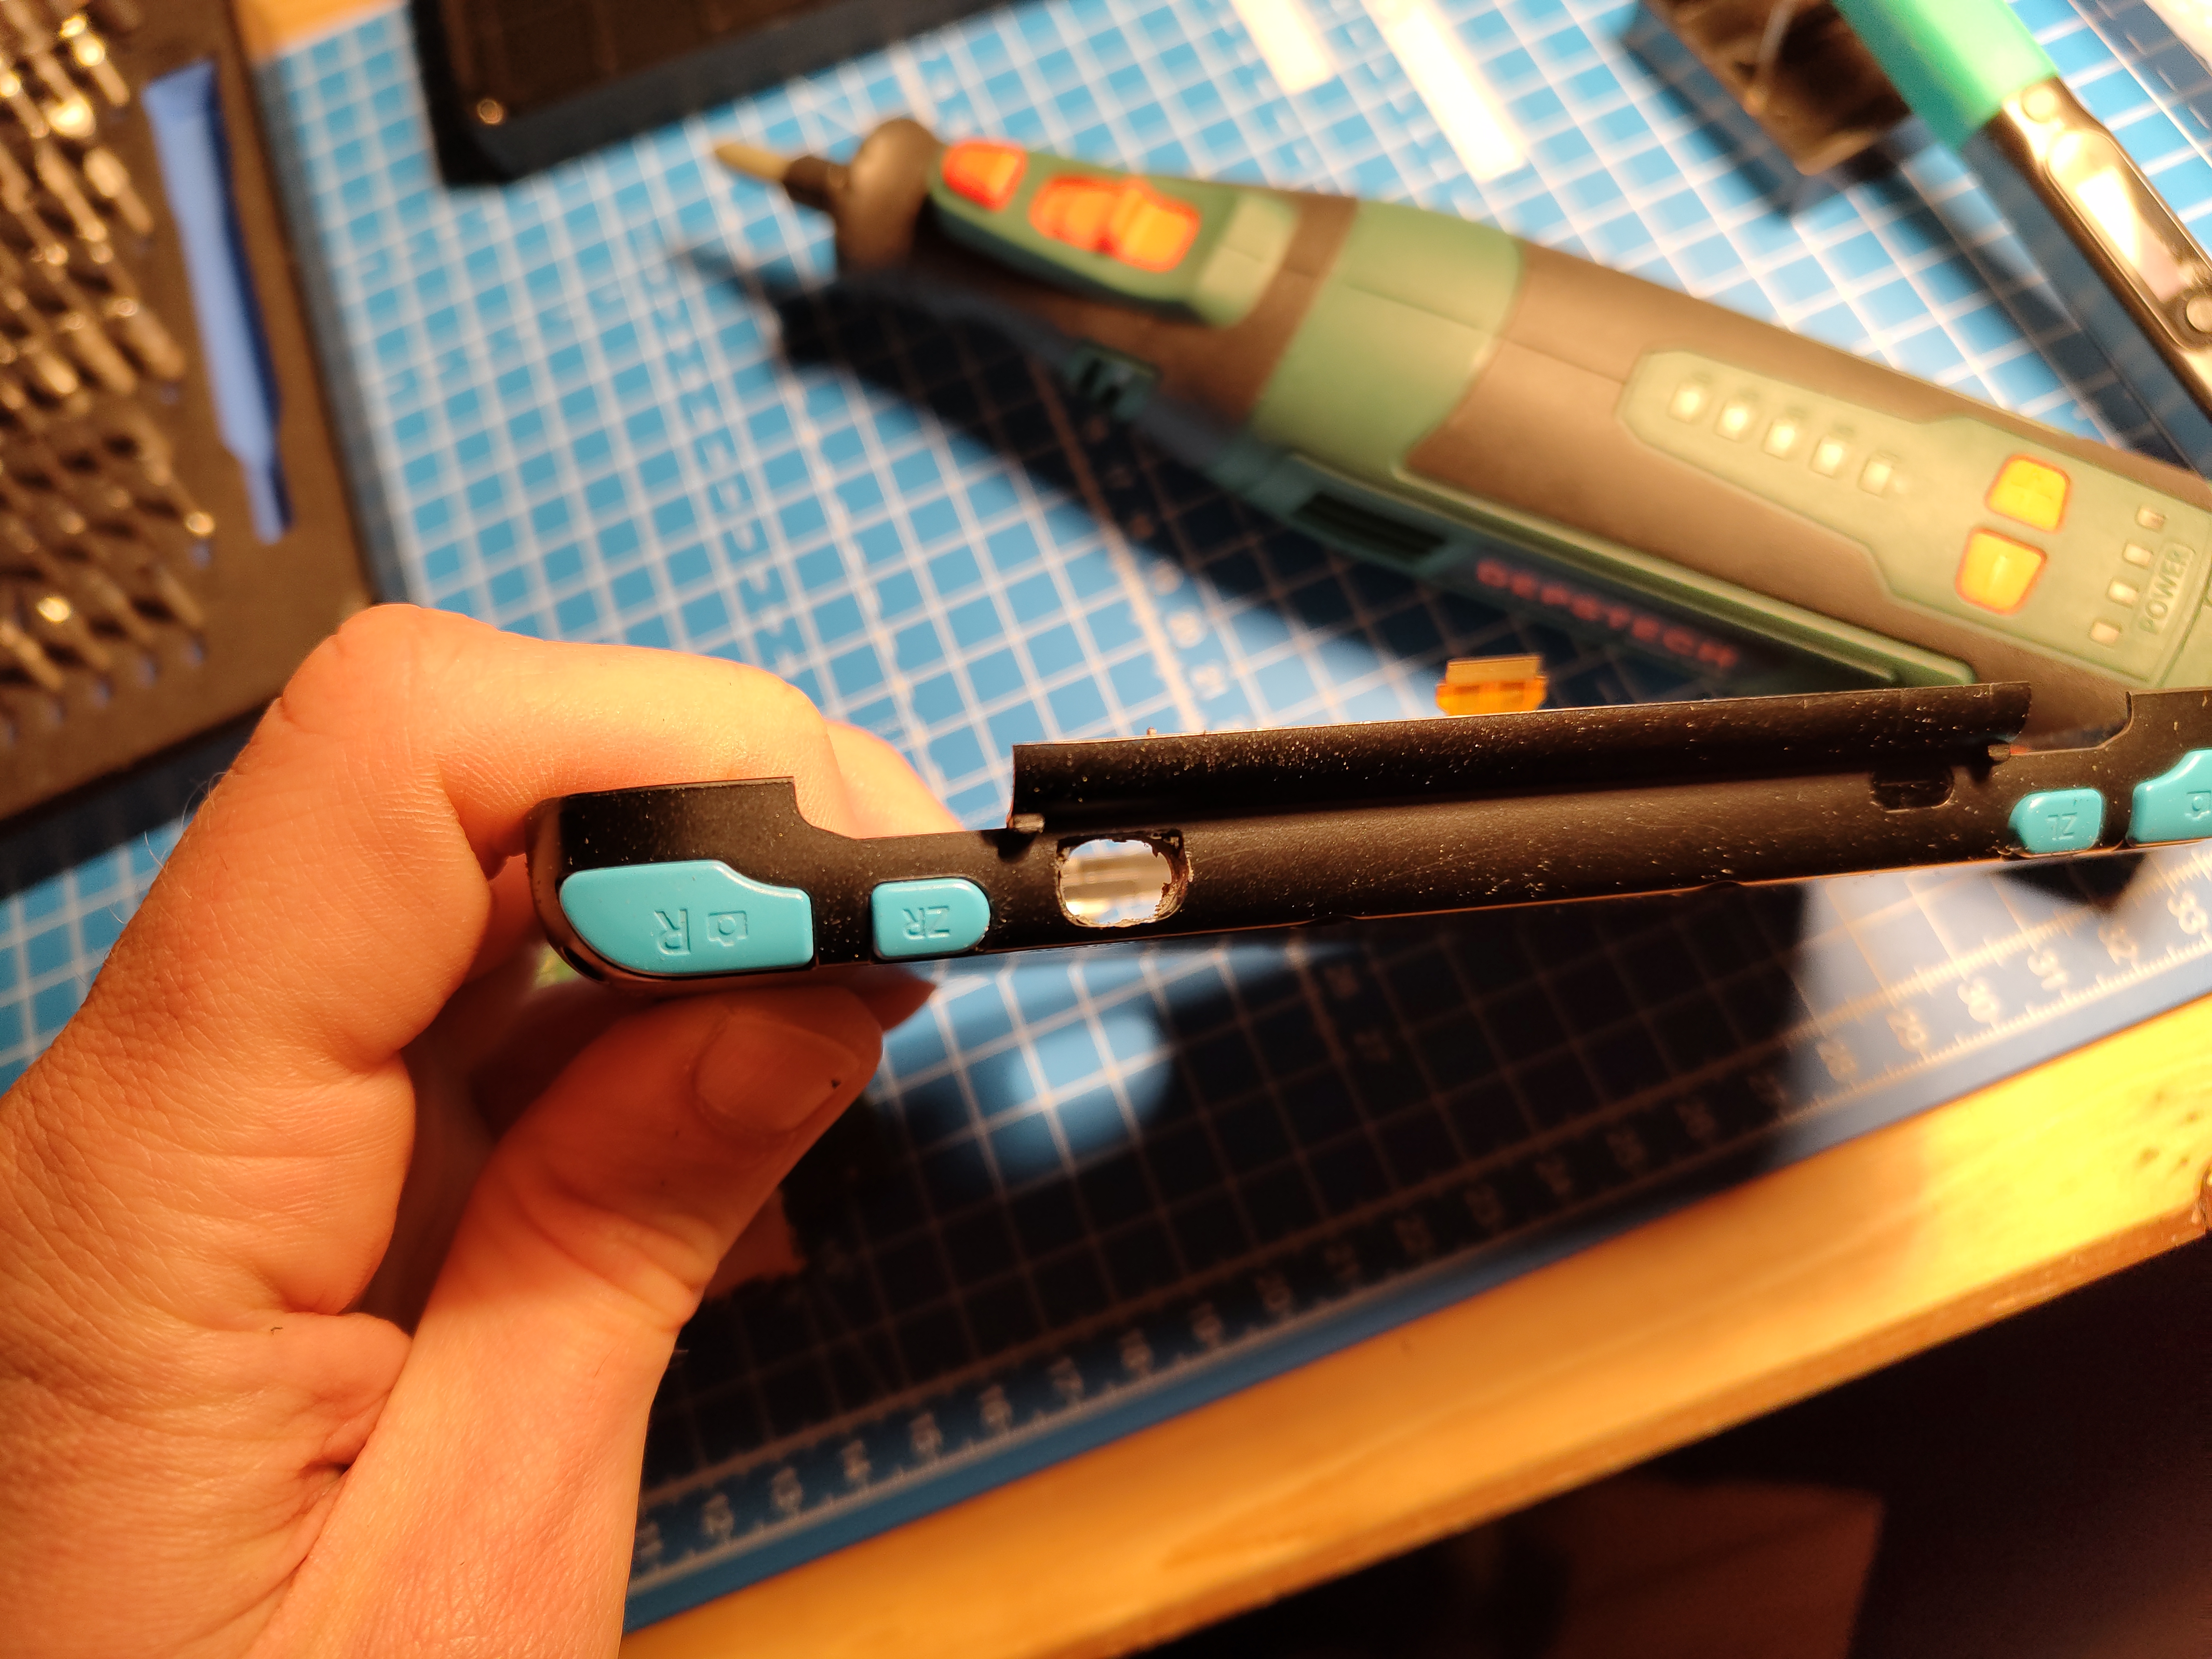
Now comes the fun part: Installing the USB-C port. I will first remove the old charging port and solder two wires to the positive and negative terminals of the charging port. I will then solder the other ends of the wires to the USB-C breakout board. Then the USB-C breakout board will be glued in the old charging port’s place. If that works, the only thing left to do is to widen the hole in the case so that the USB-C port fits through it. I will use a dremel for that so that I can be precise and it hopefully comes out nice and clean.
In order to remove the solder of the old charging port, I used a soldering iron and some solder wick. I actually had to heat up the soldering iron to 500 degrees Celsius to get the solder to melt. That was a bit much for my little Pinecil but luckily I had another soldering iron that could handle it.
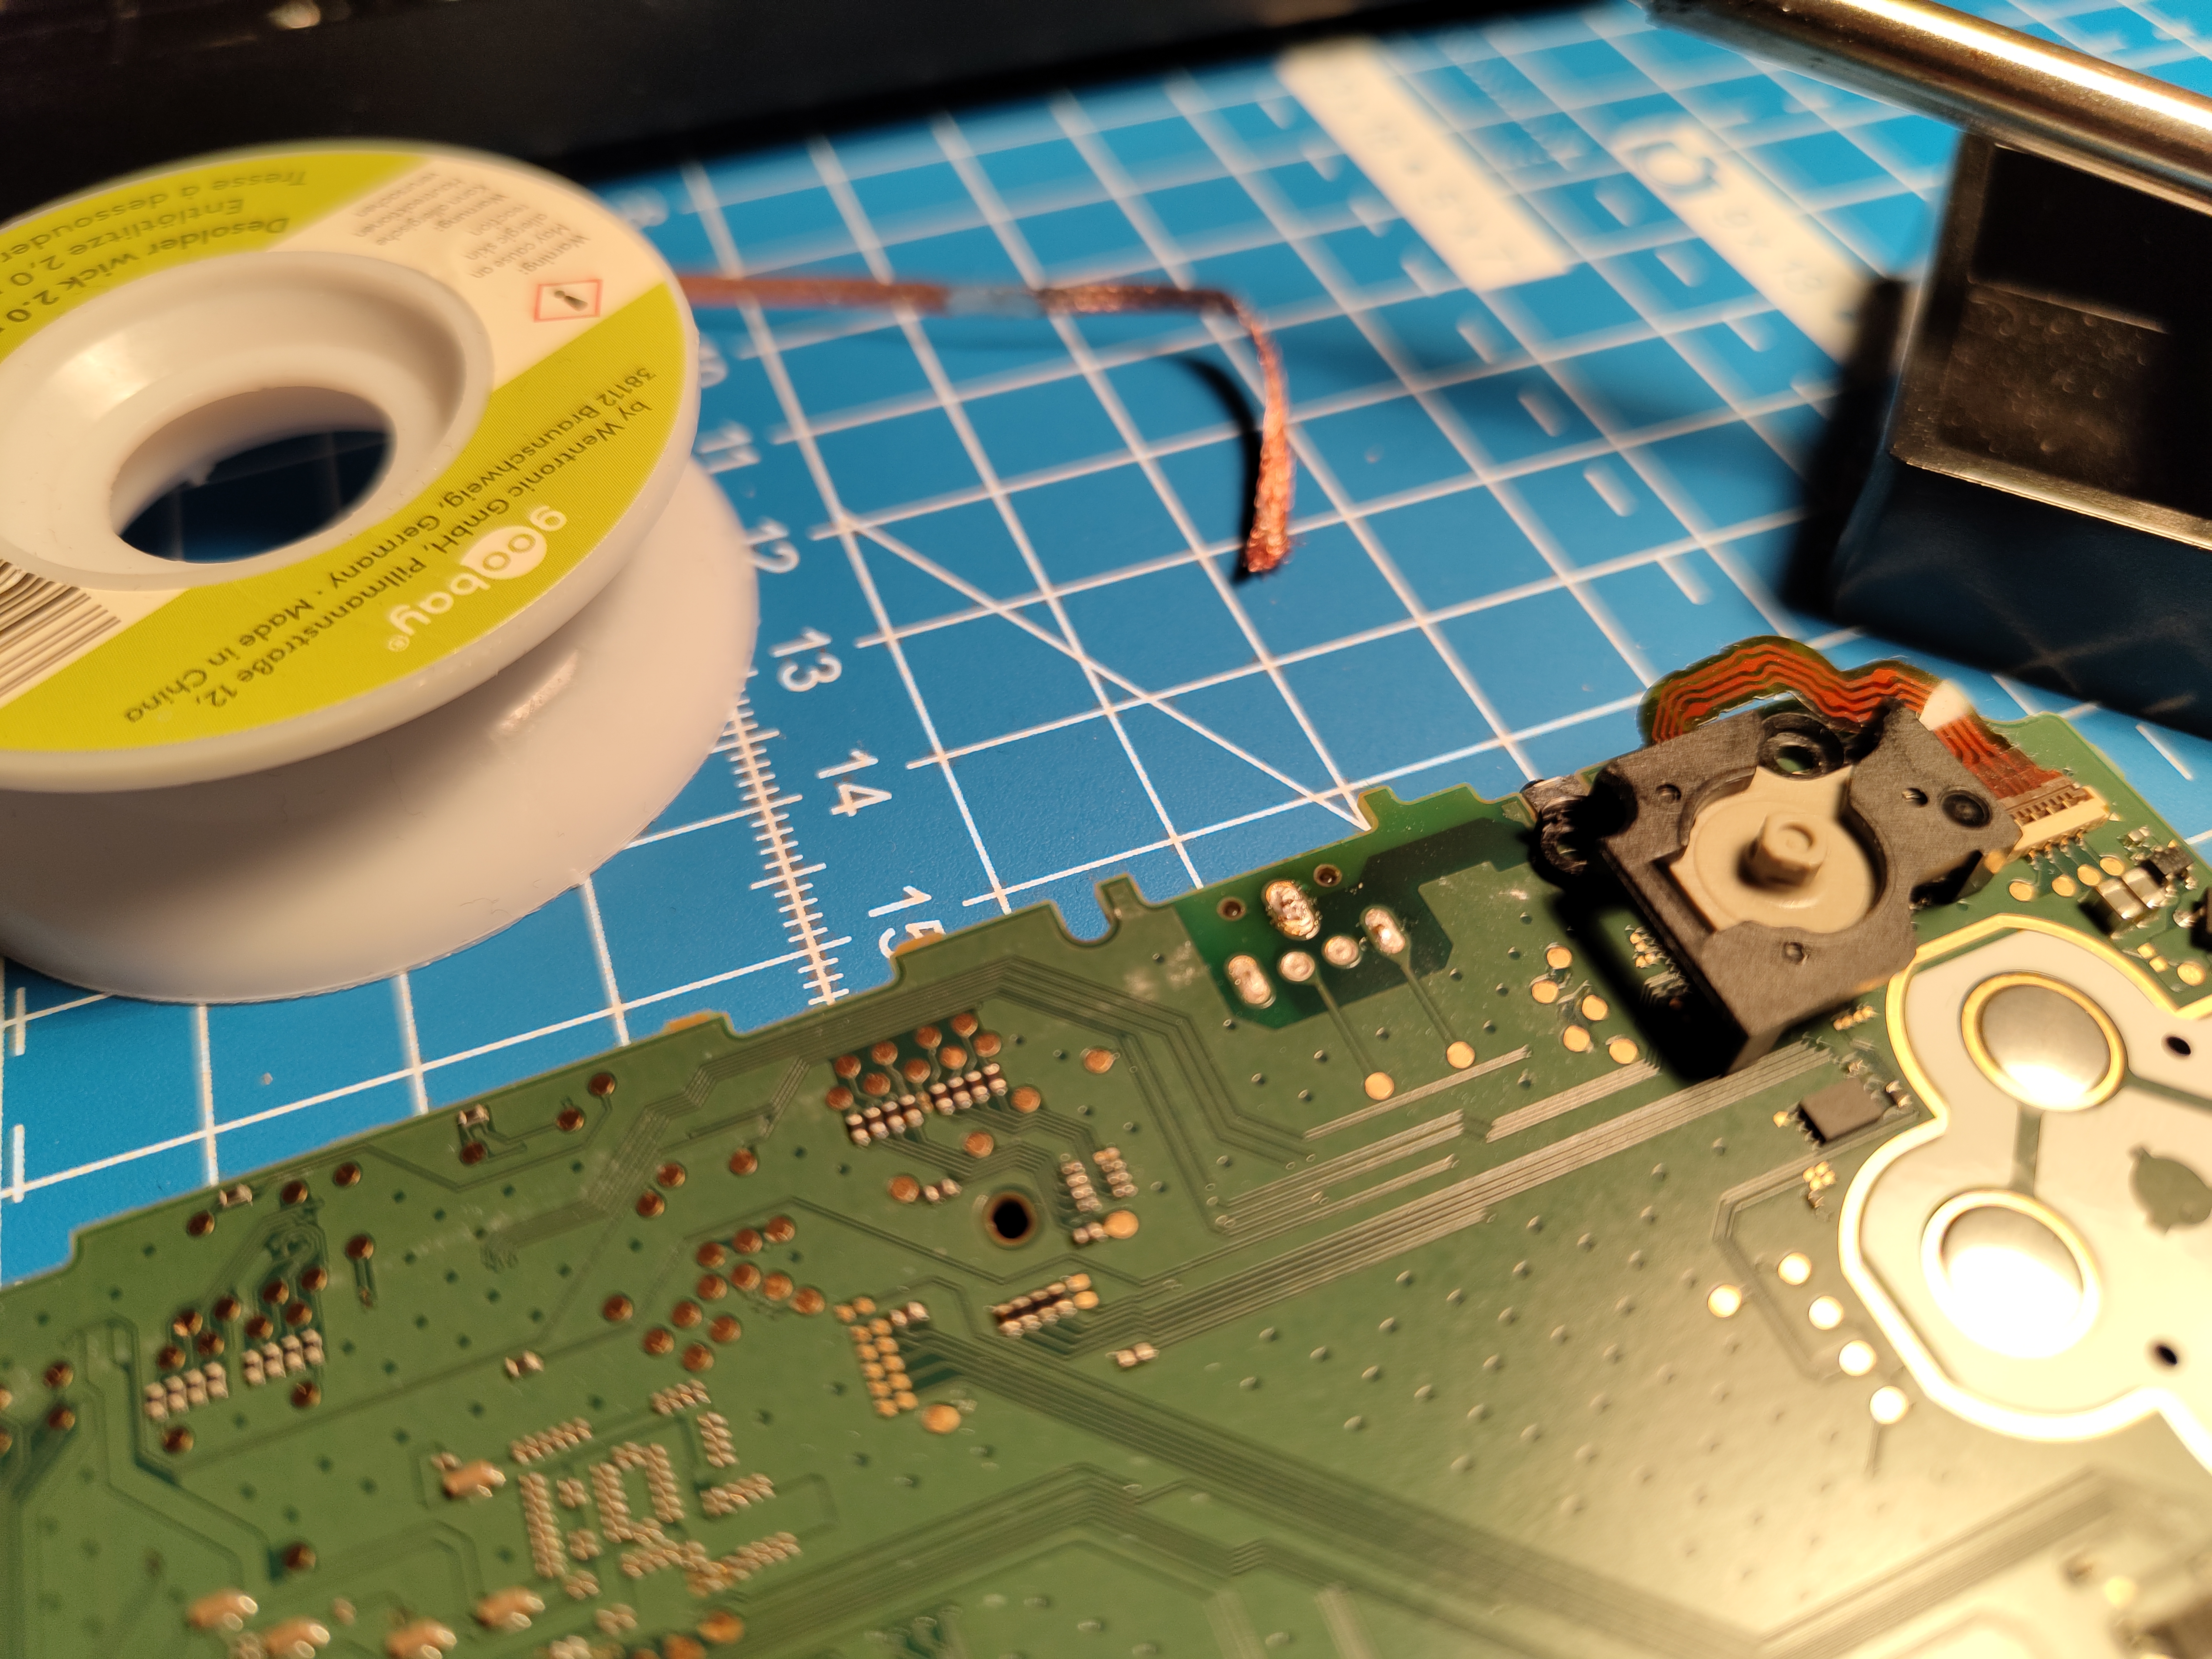
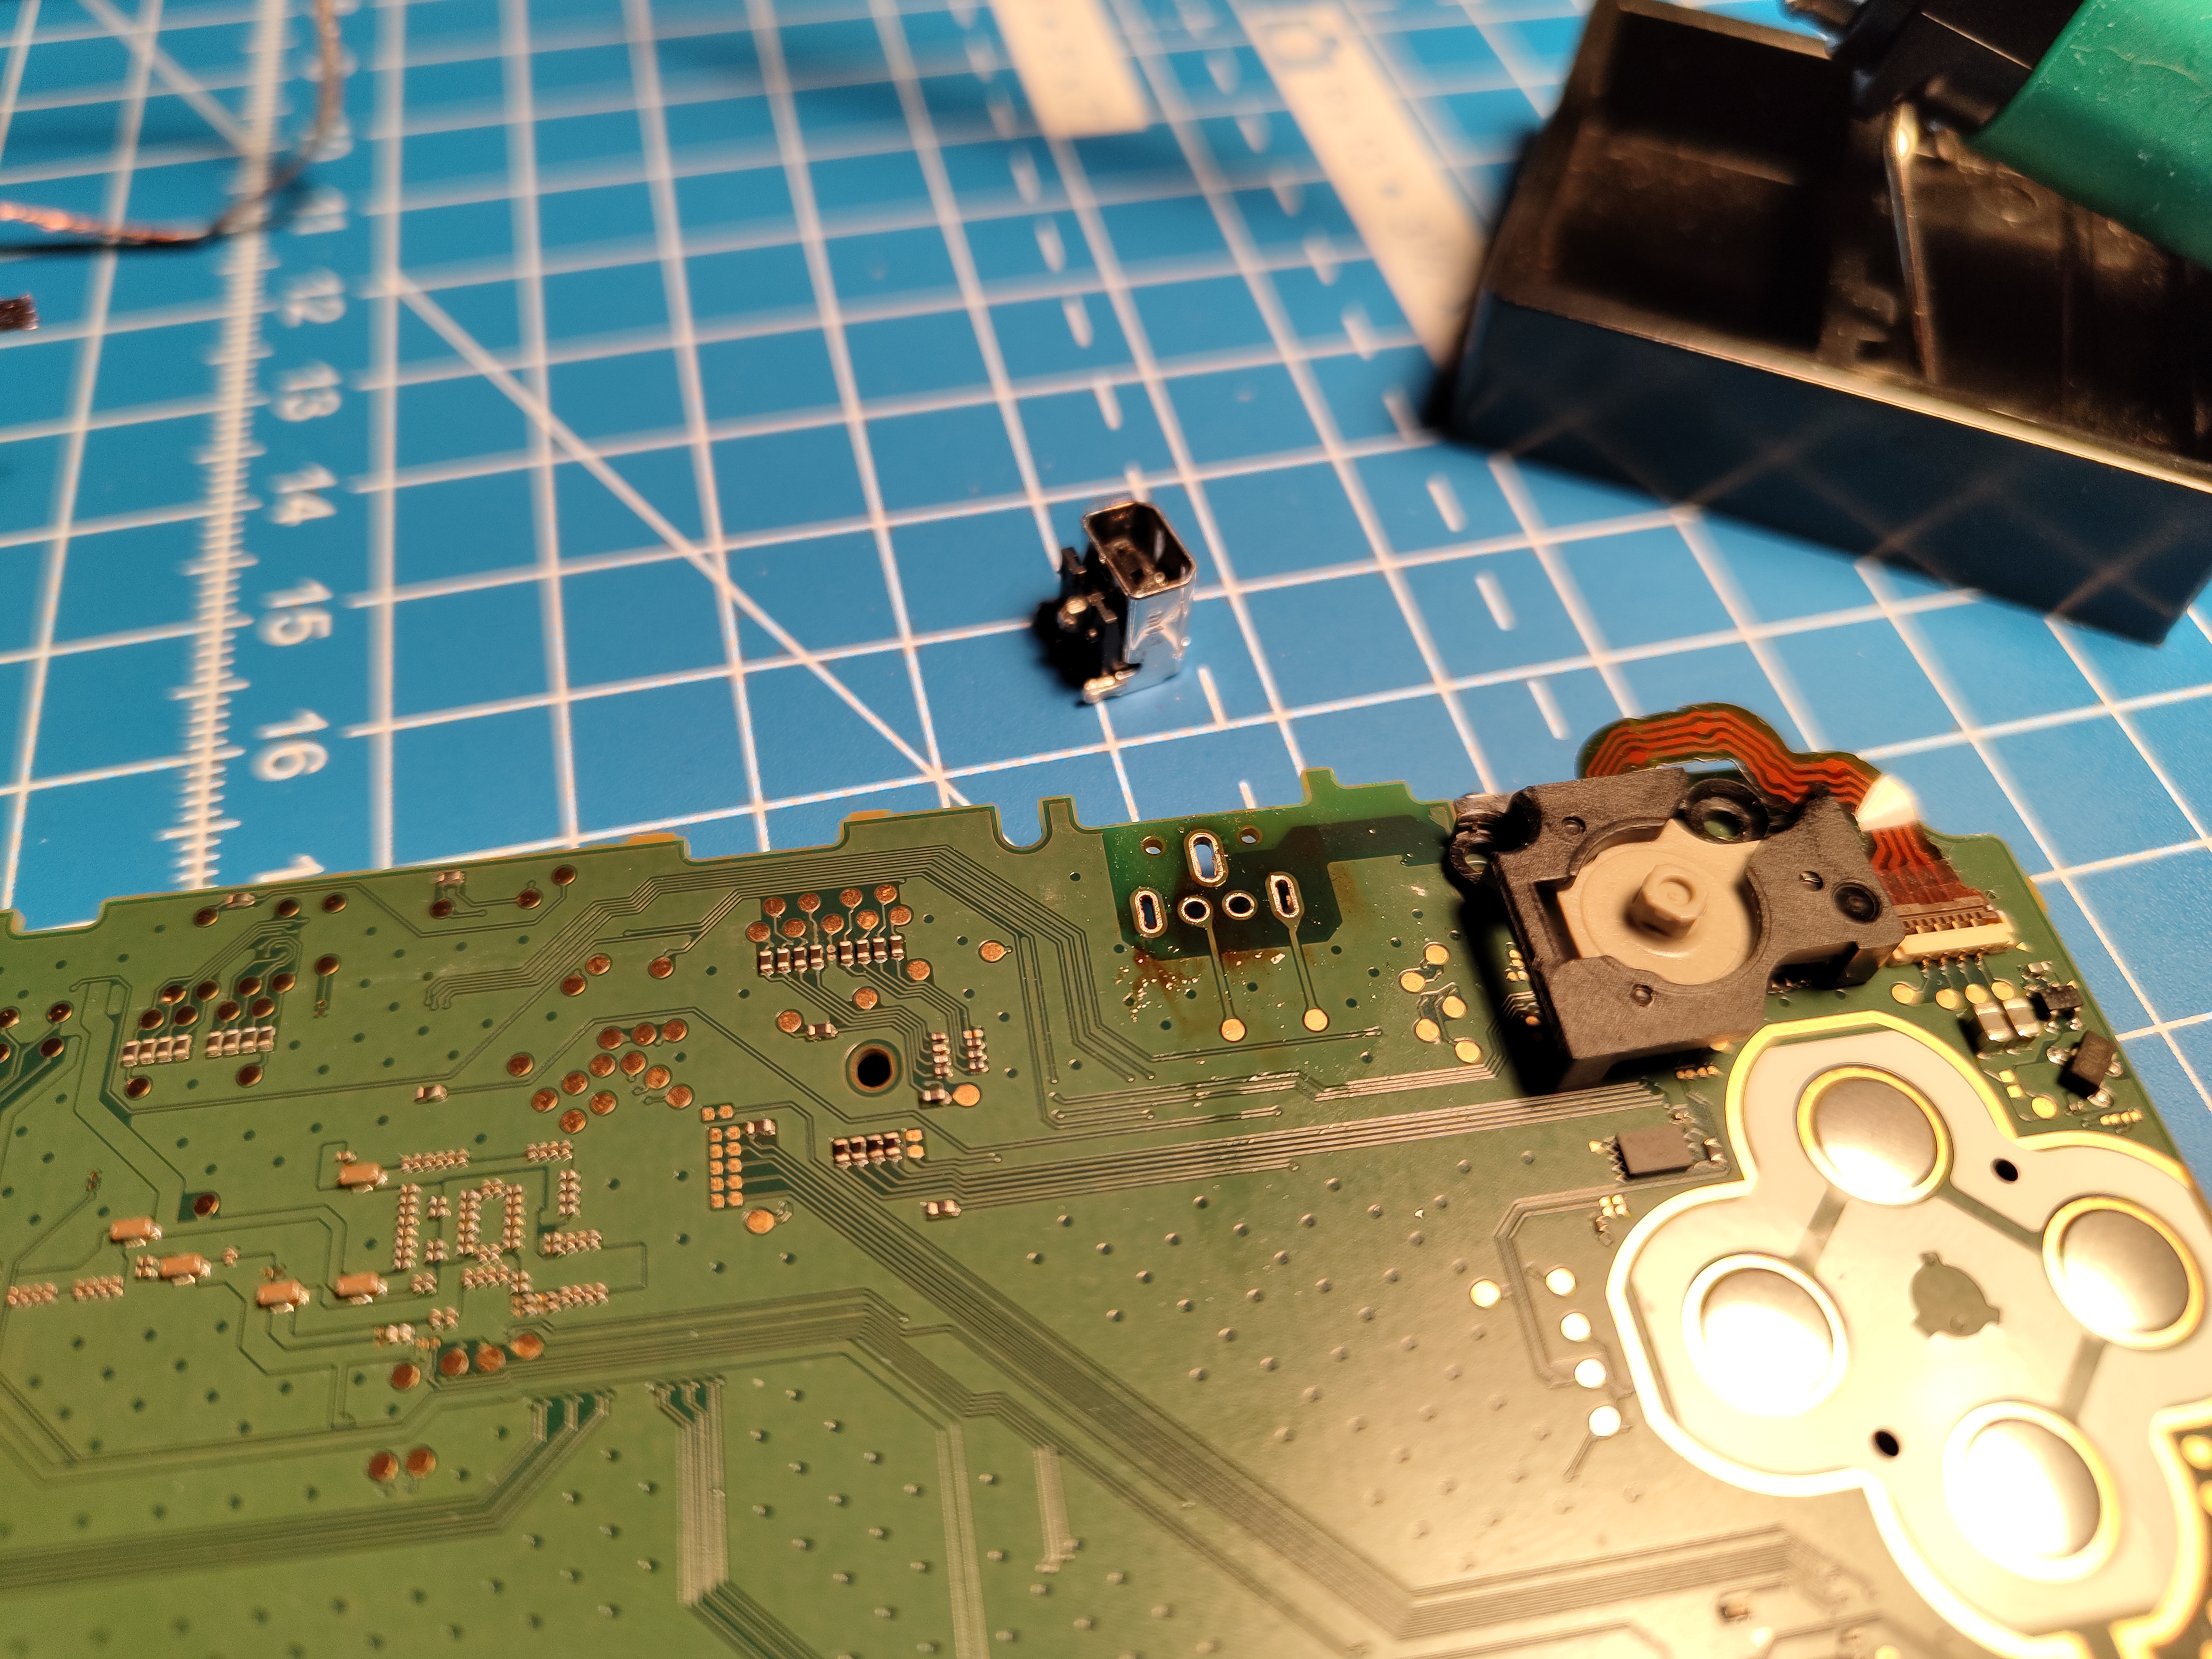
I cleaned the area where the USB-C port will be installed with some isopropyl alcohol and then soldered two wires from Ground and VCC to the USB-C breakout board.
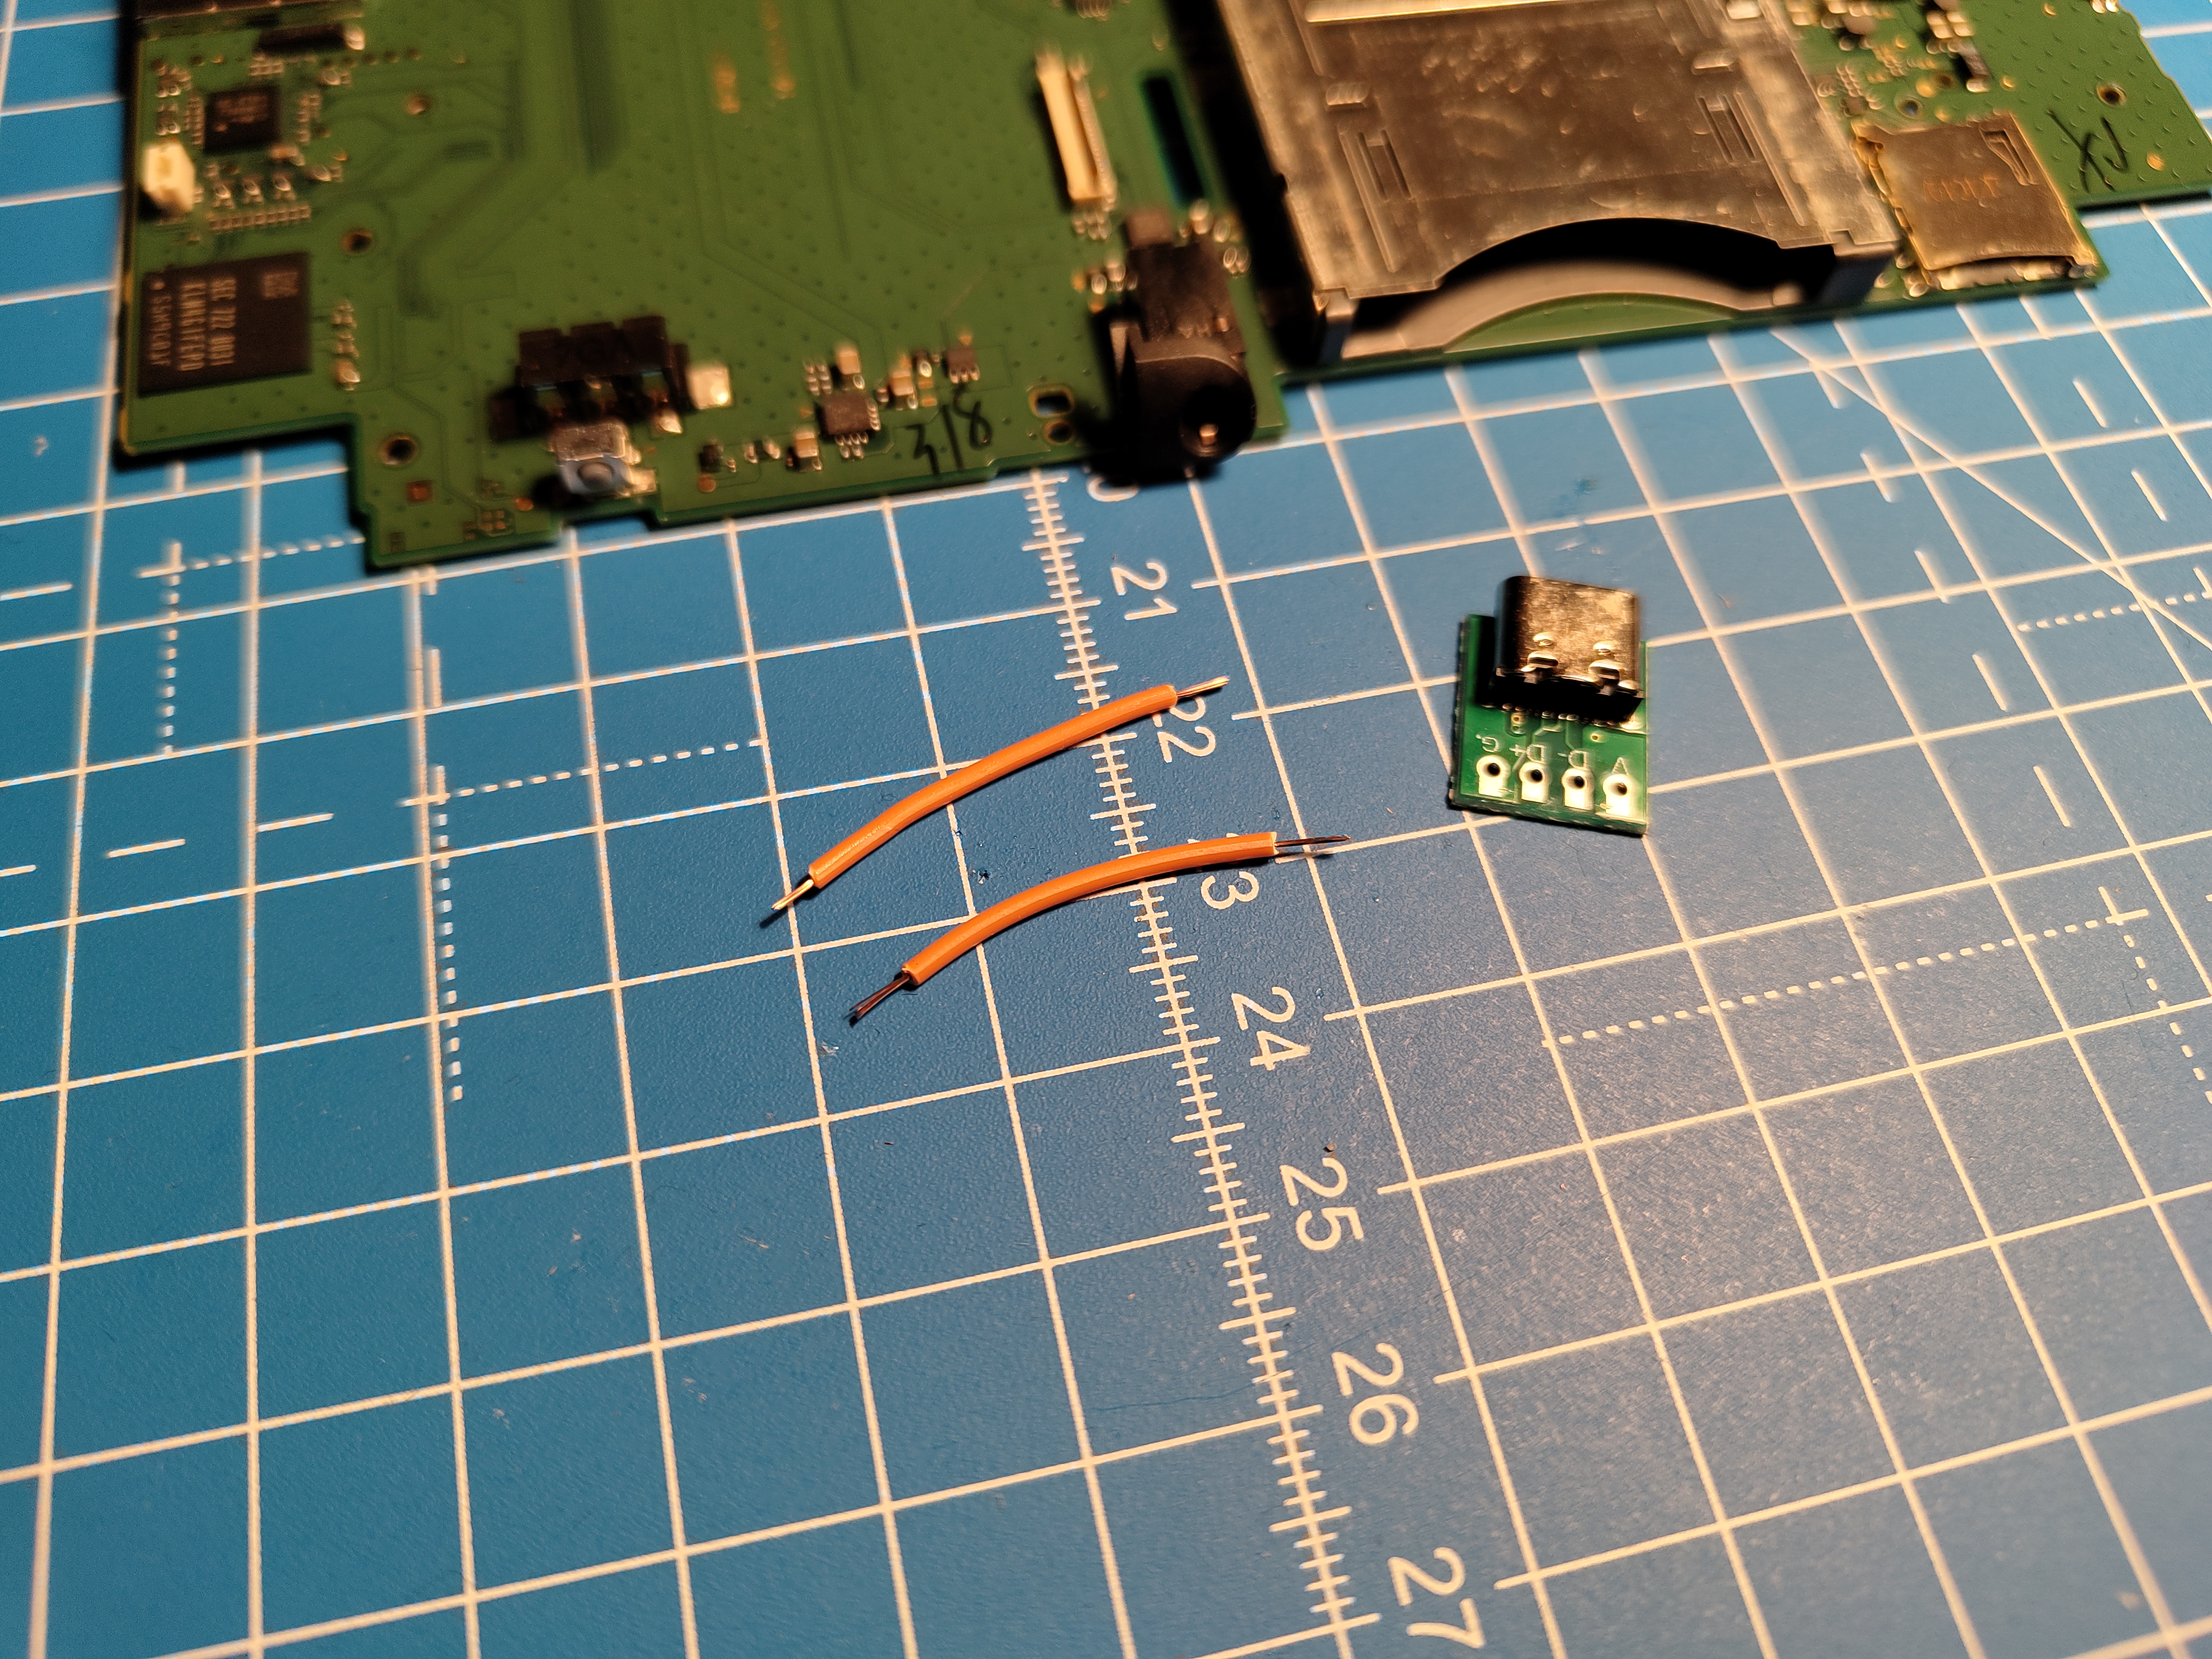
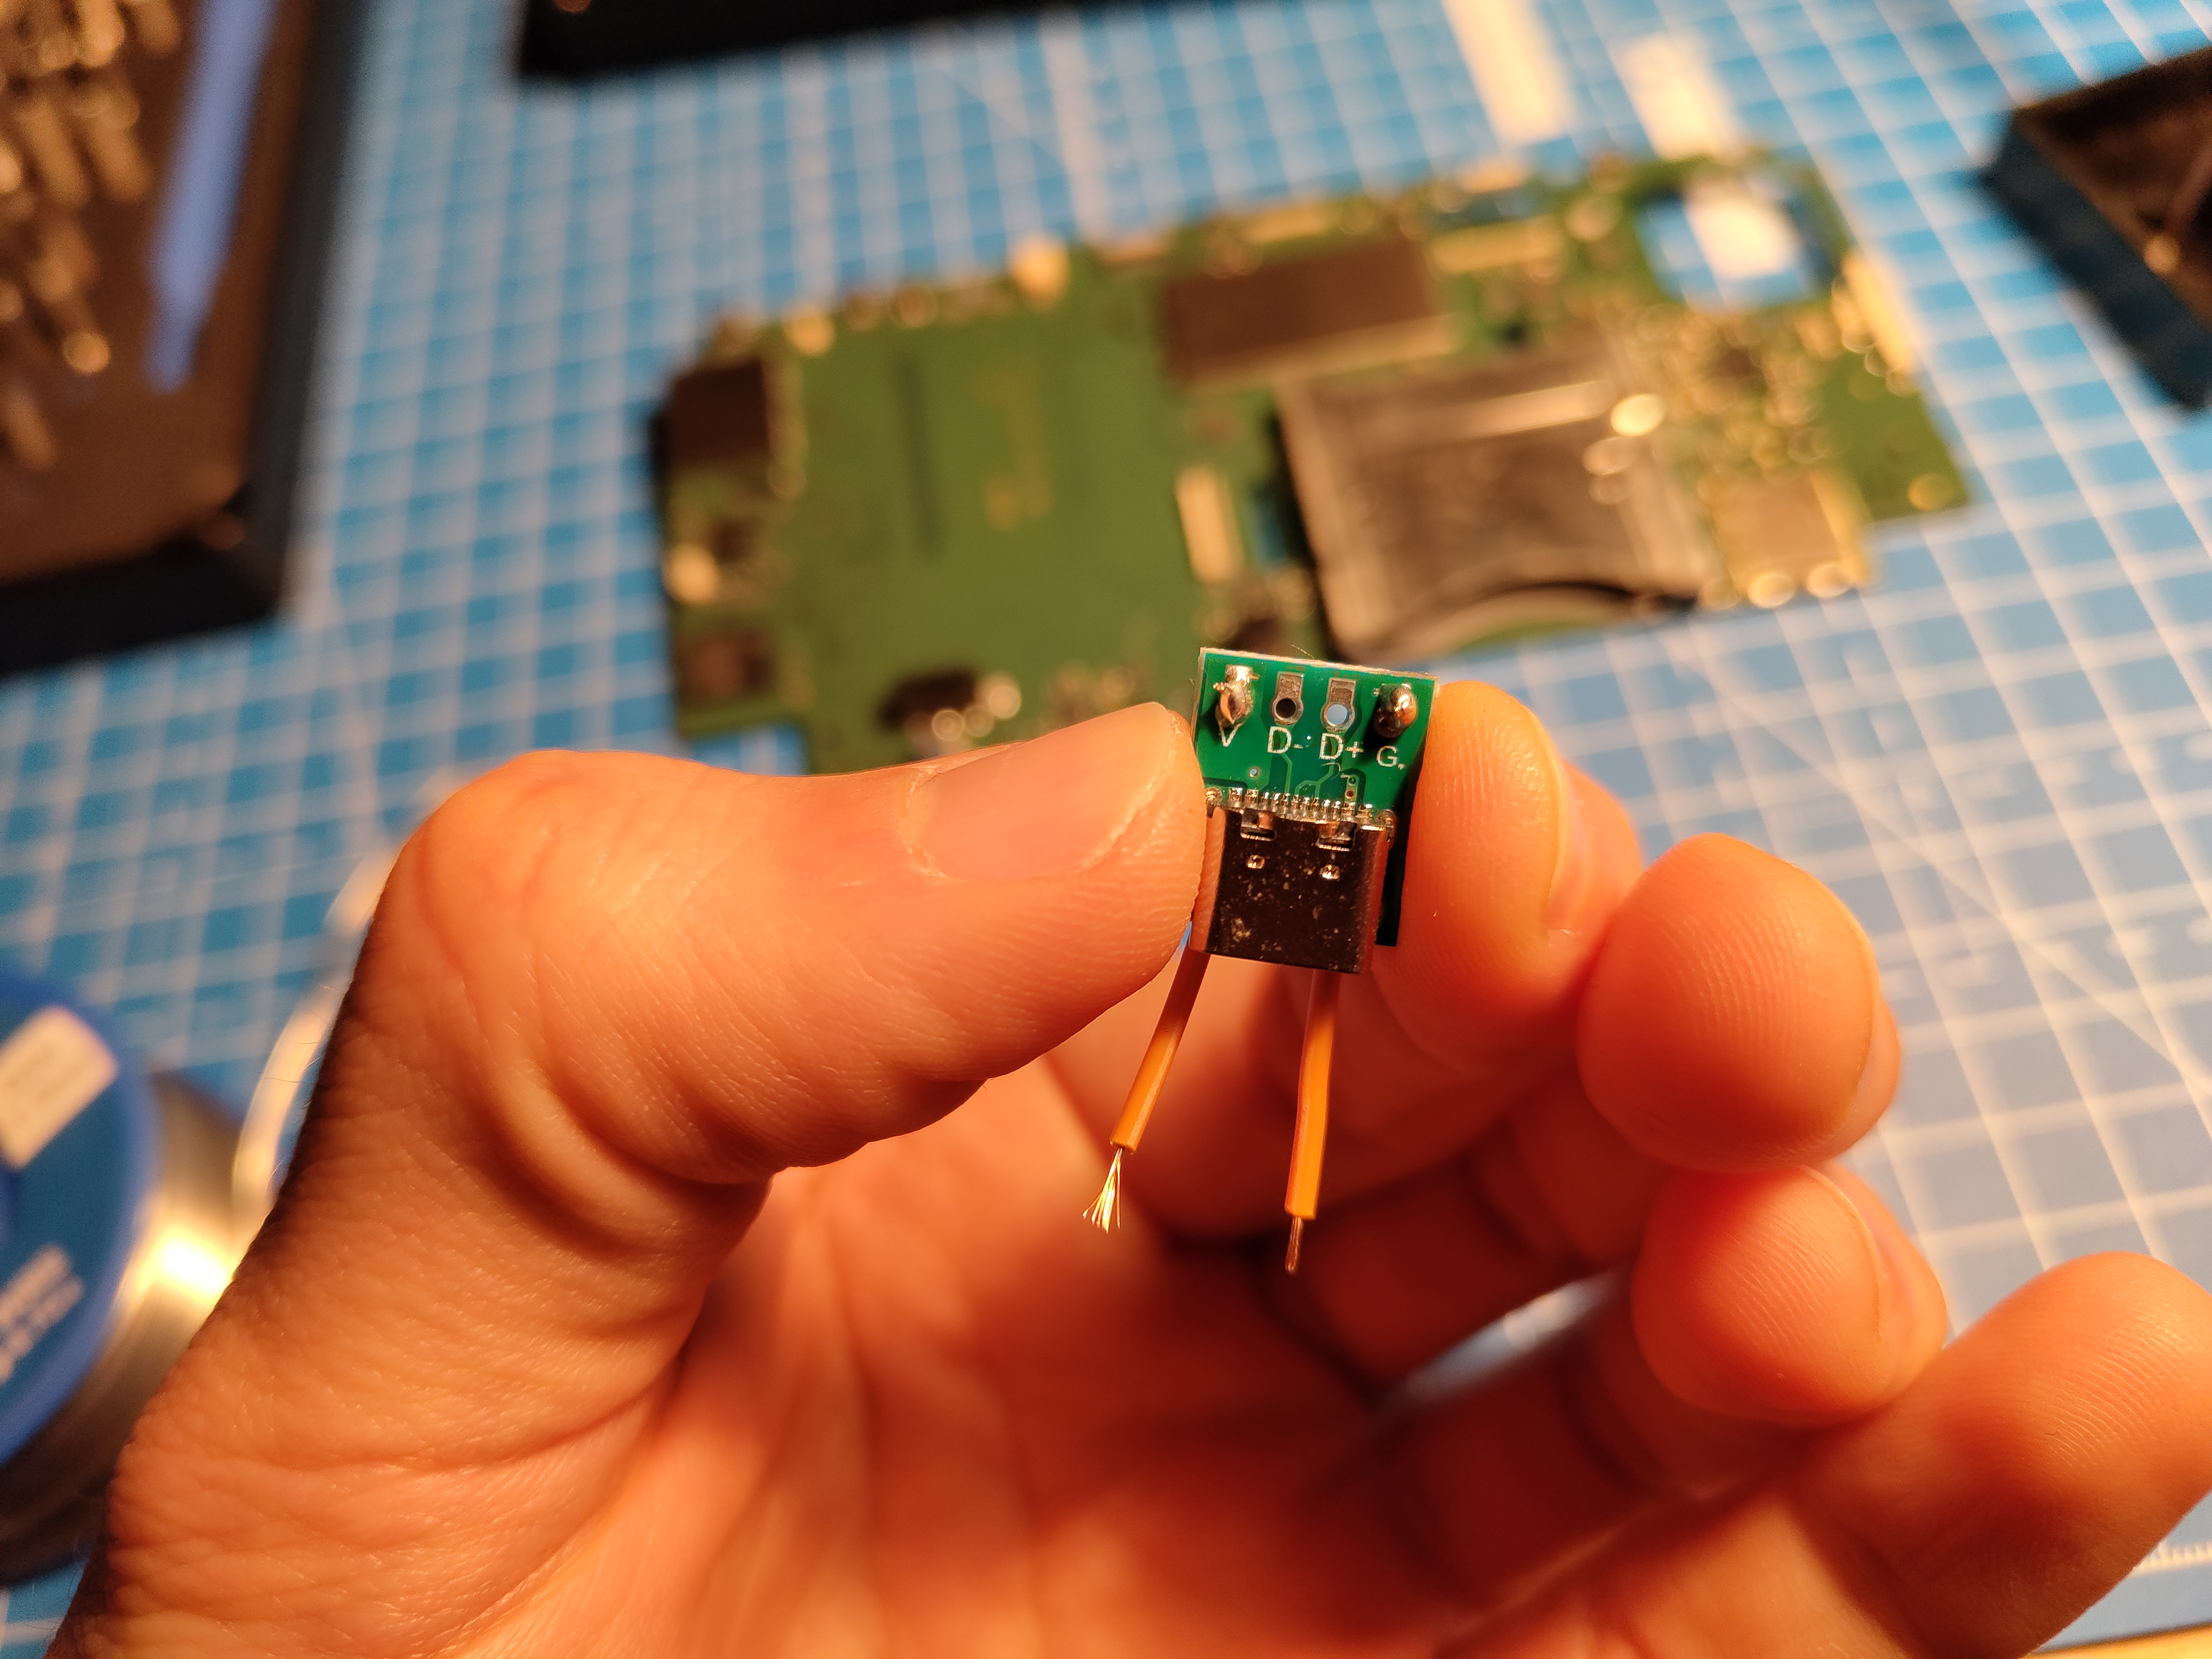
Then I hot glued the USB-C breakout board in place.
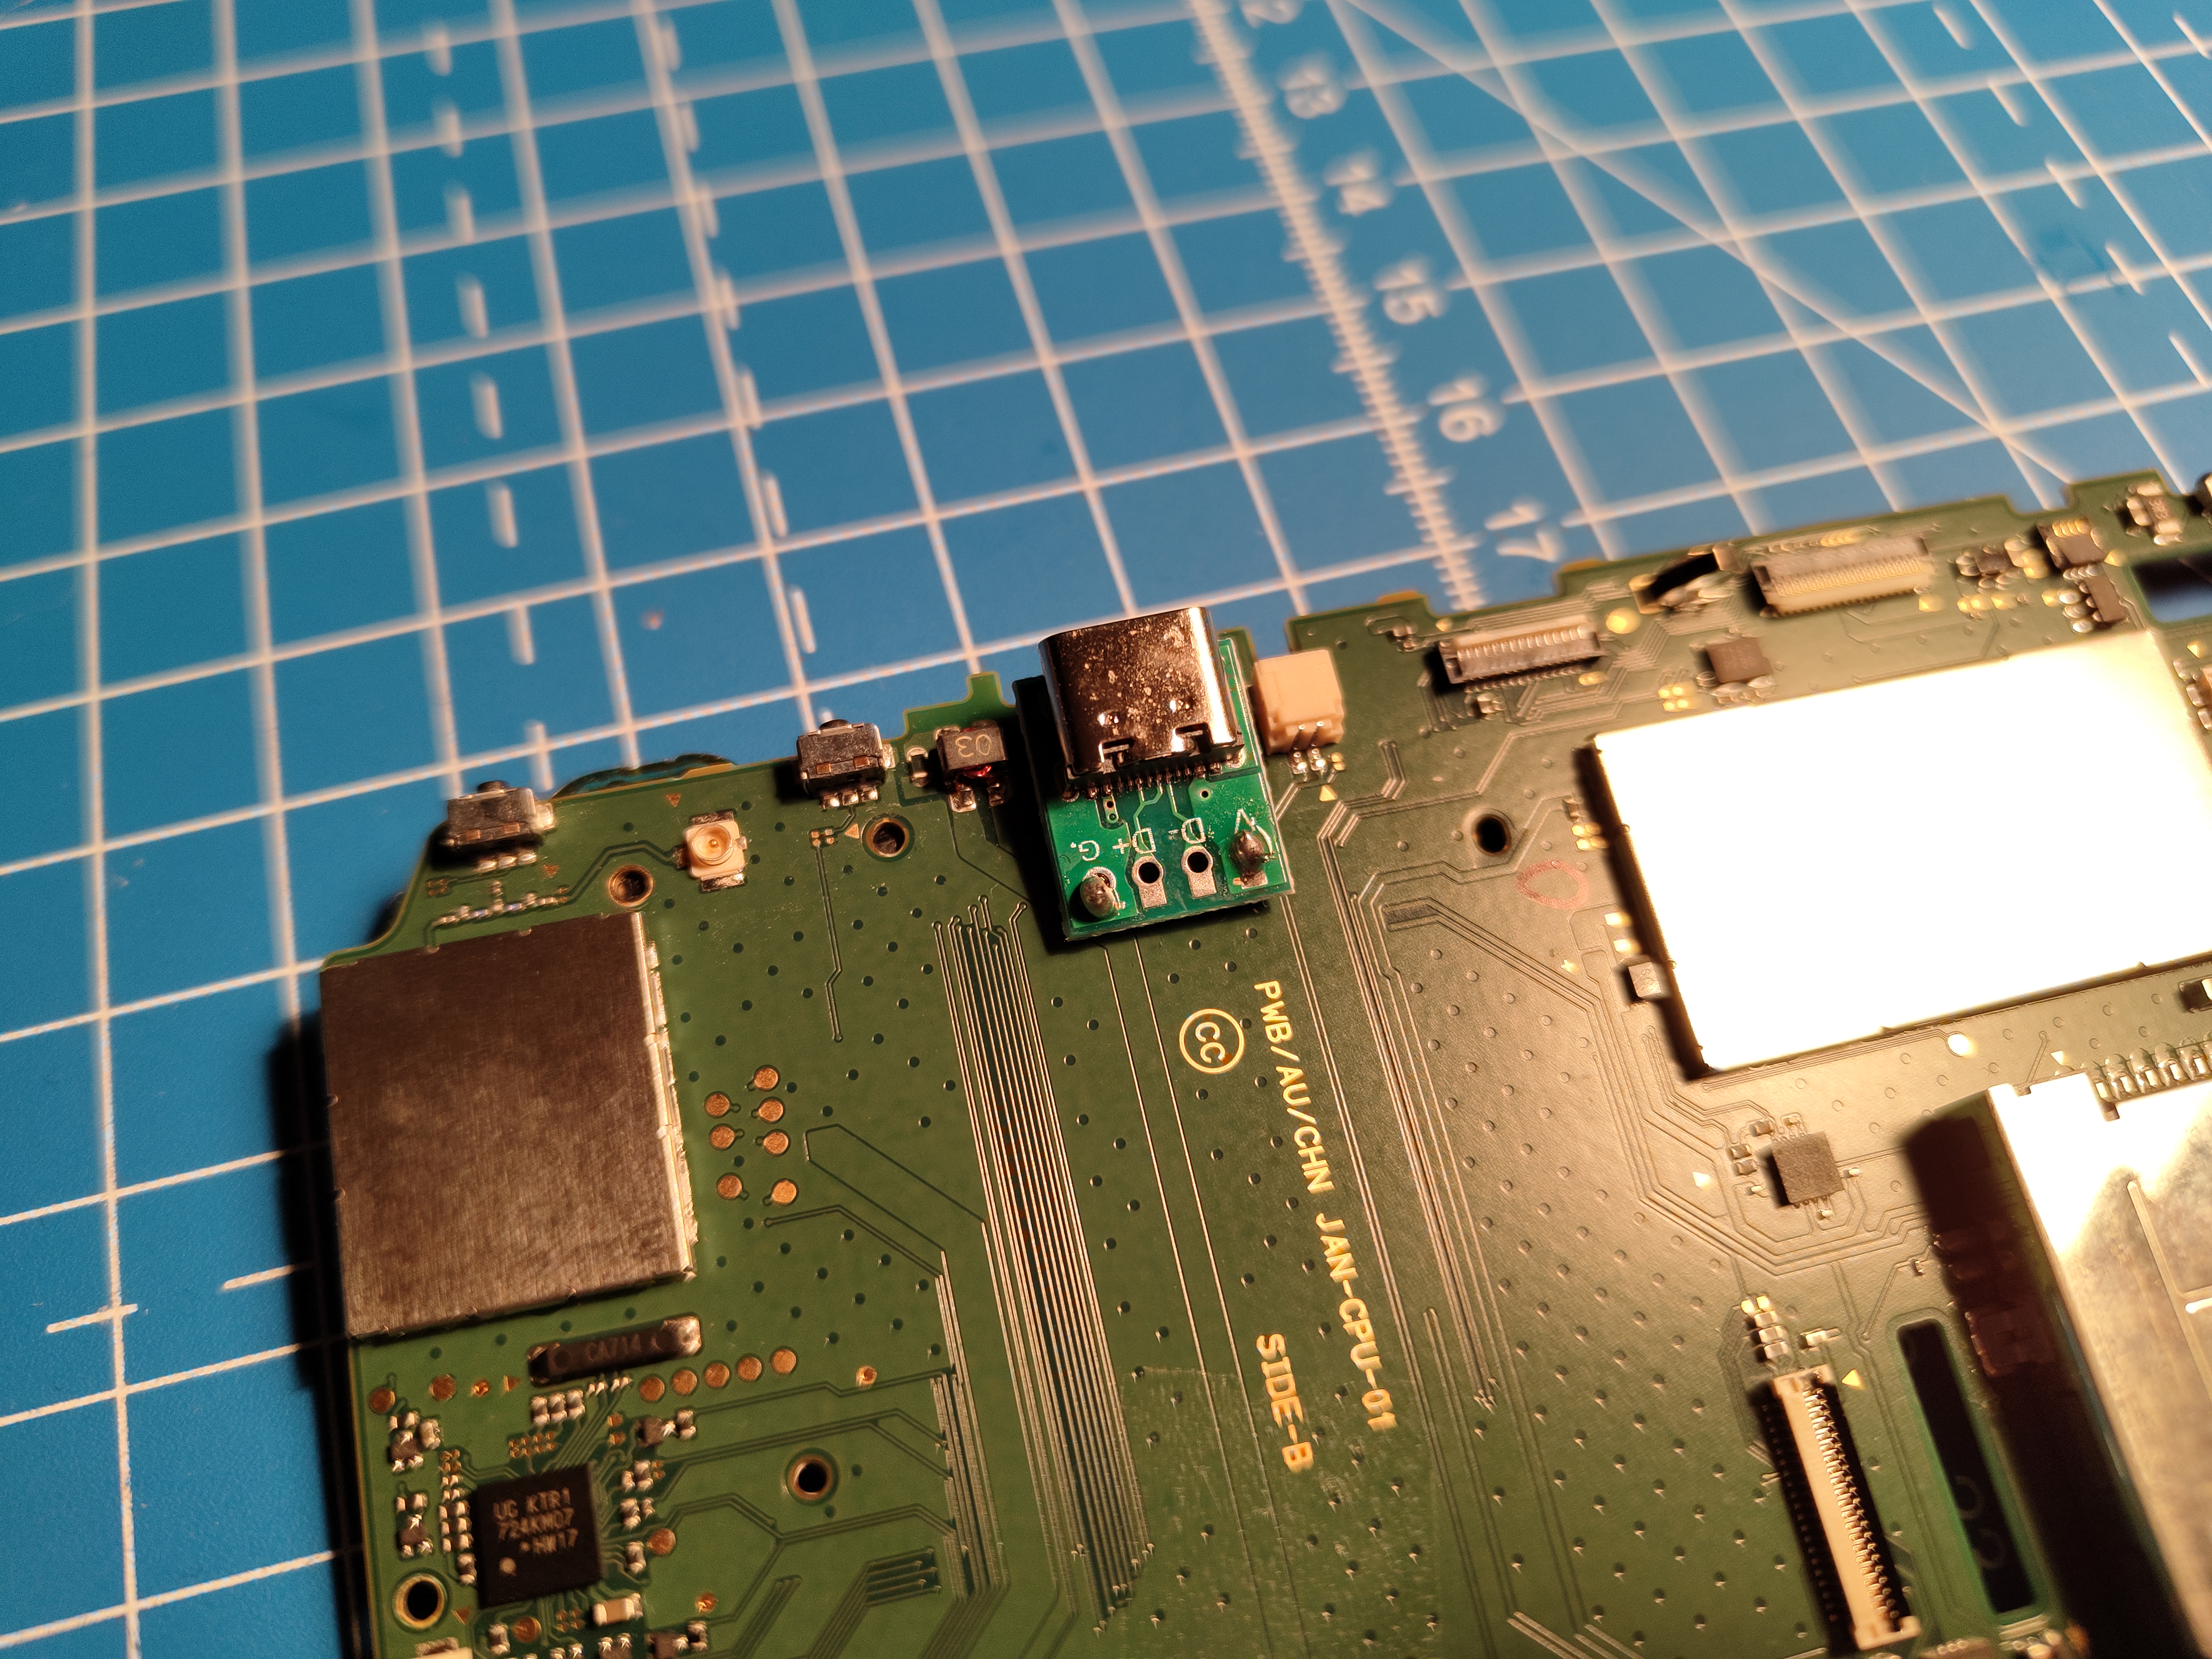
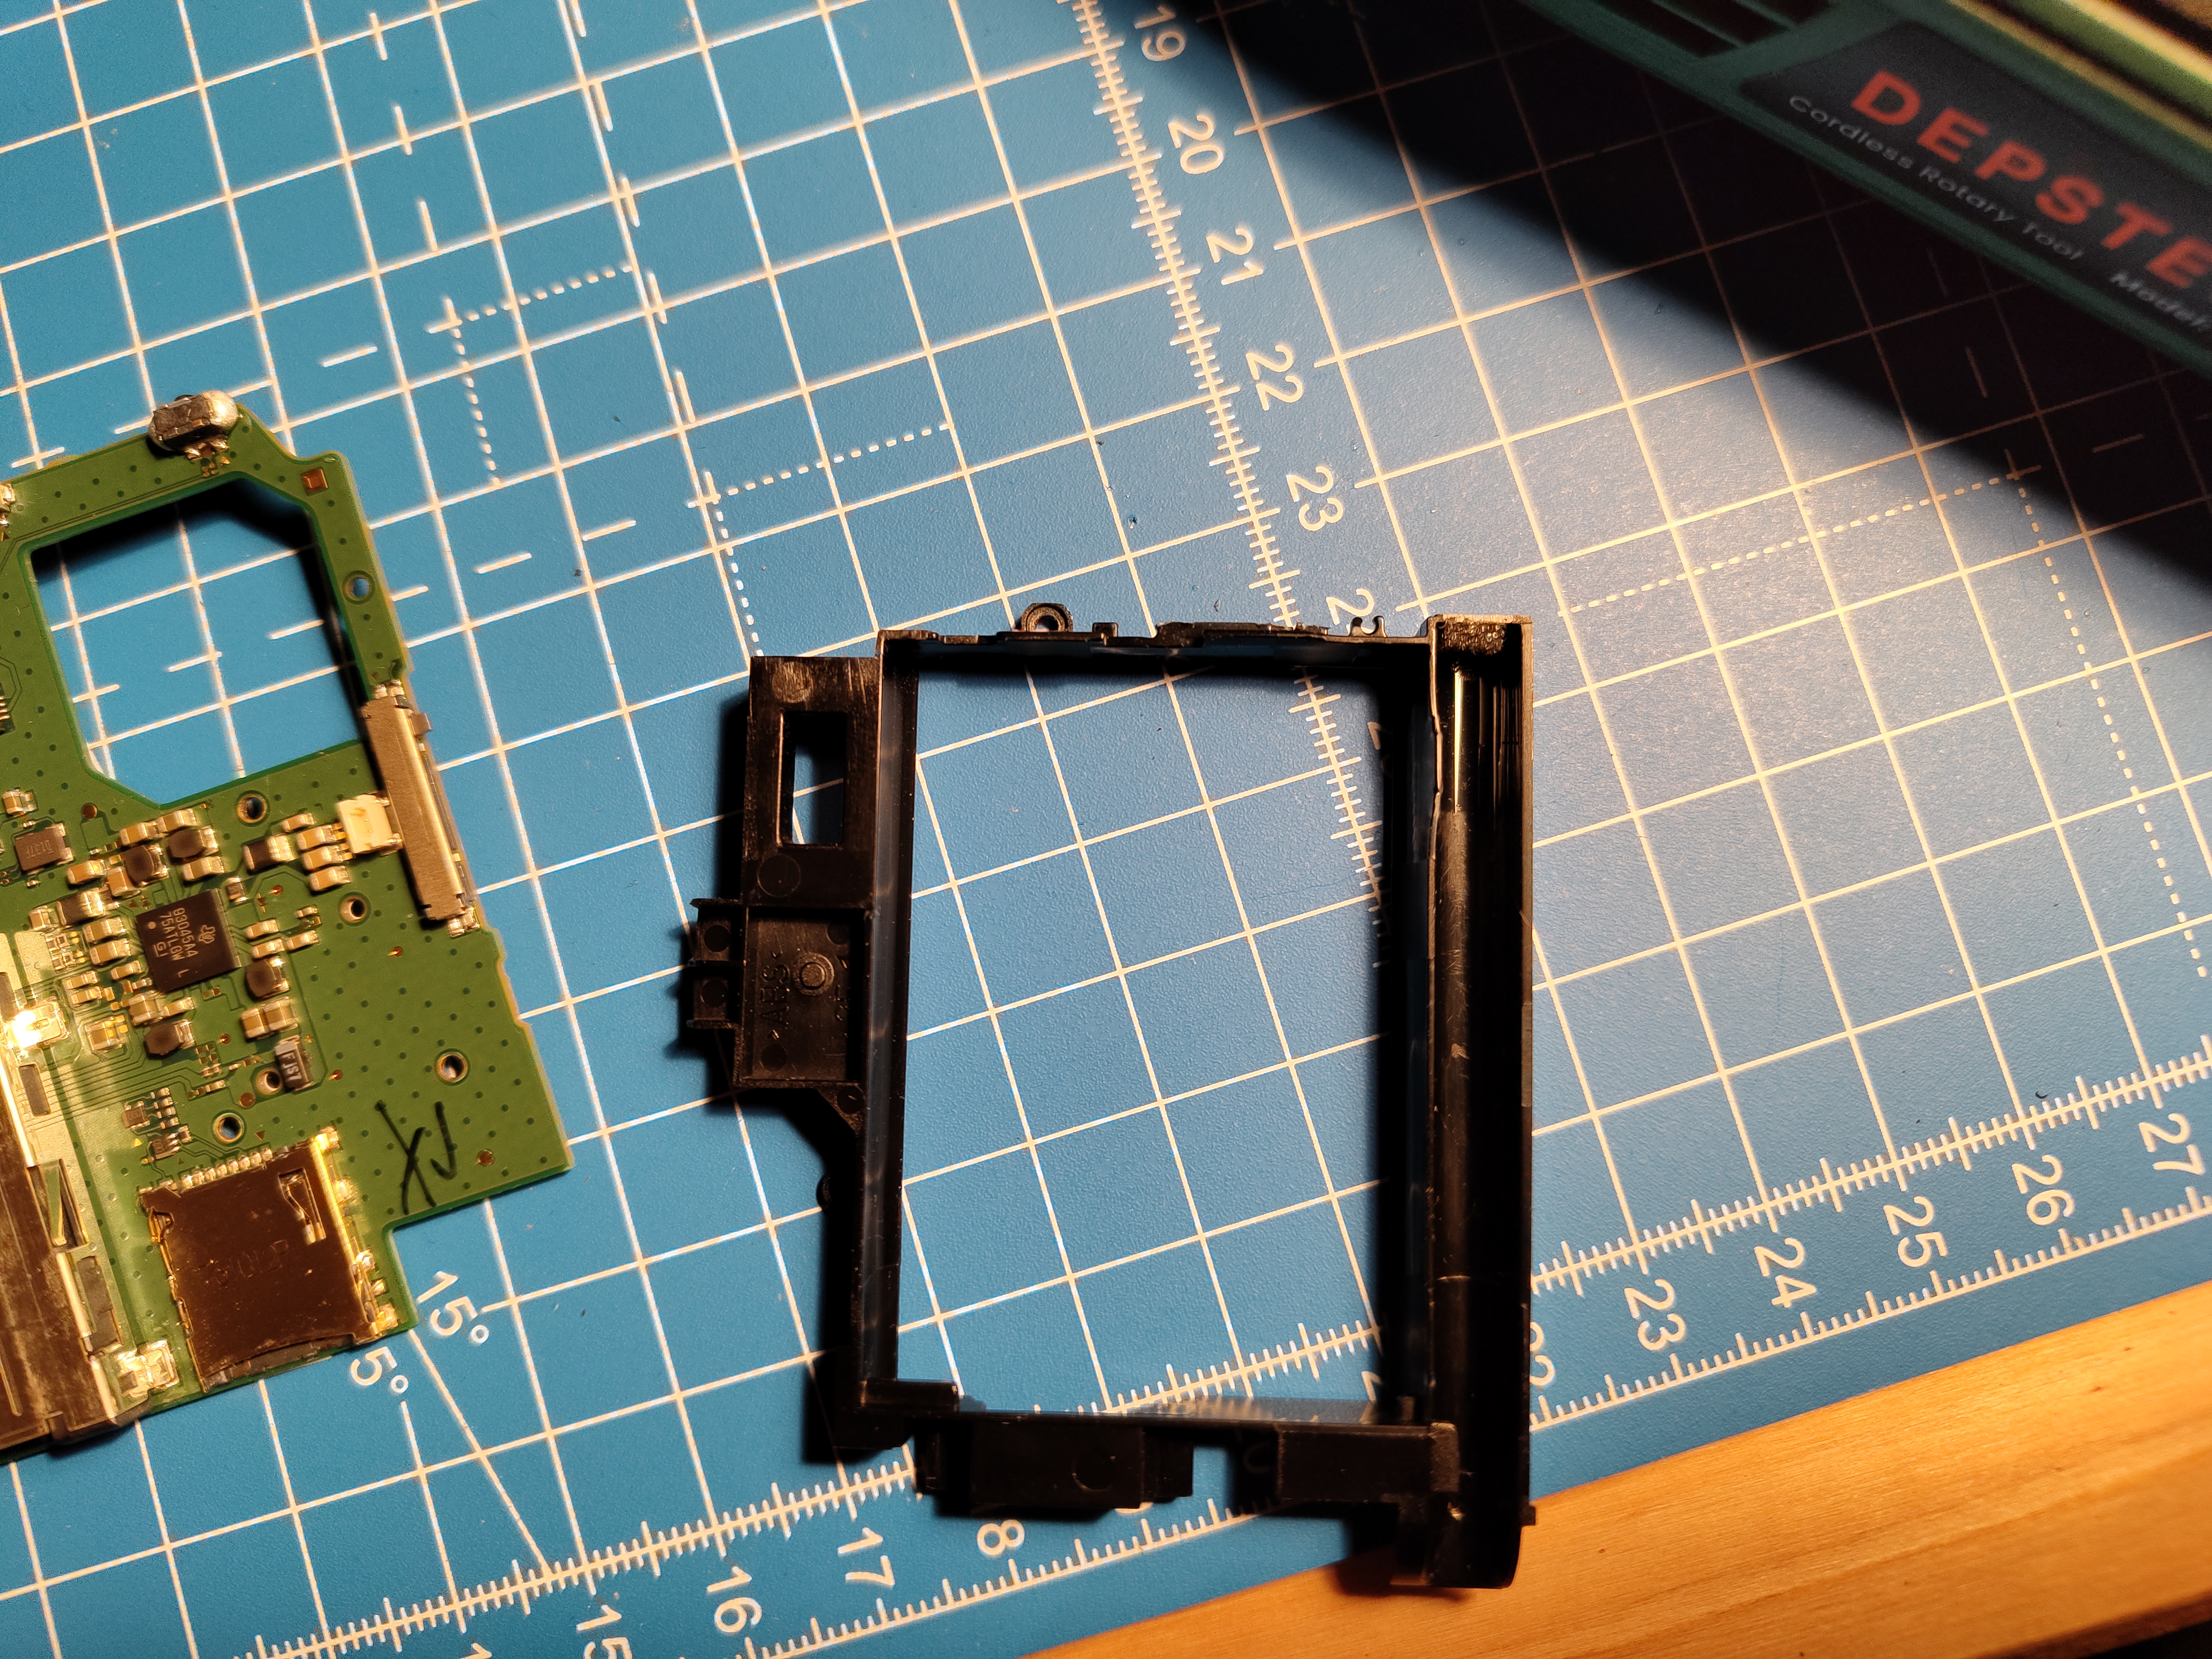
And finally, I widened the hole in the case with a dremel so that the USB-C port fits through it. I also had to adjust the battery holder since it had a little plastic holder for the old charging port. However, I decided to just cut it off since it was in the way.
Fixing the Volume Slider#
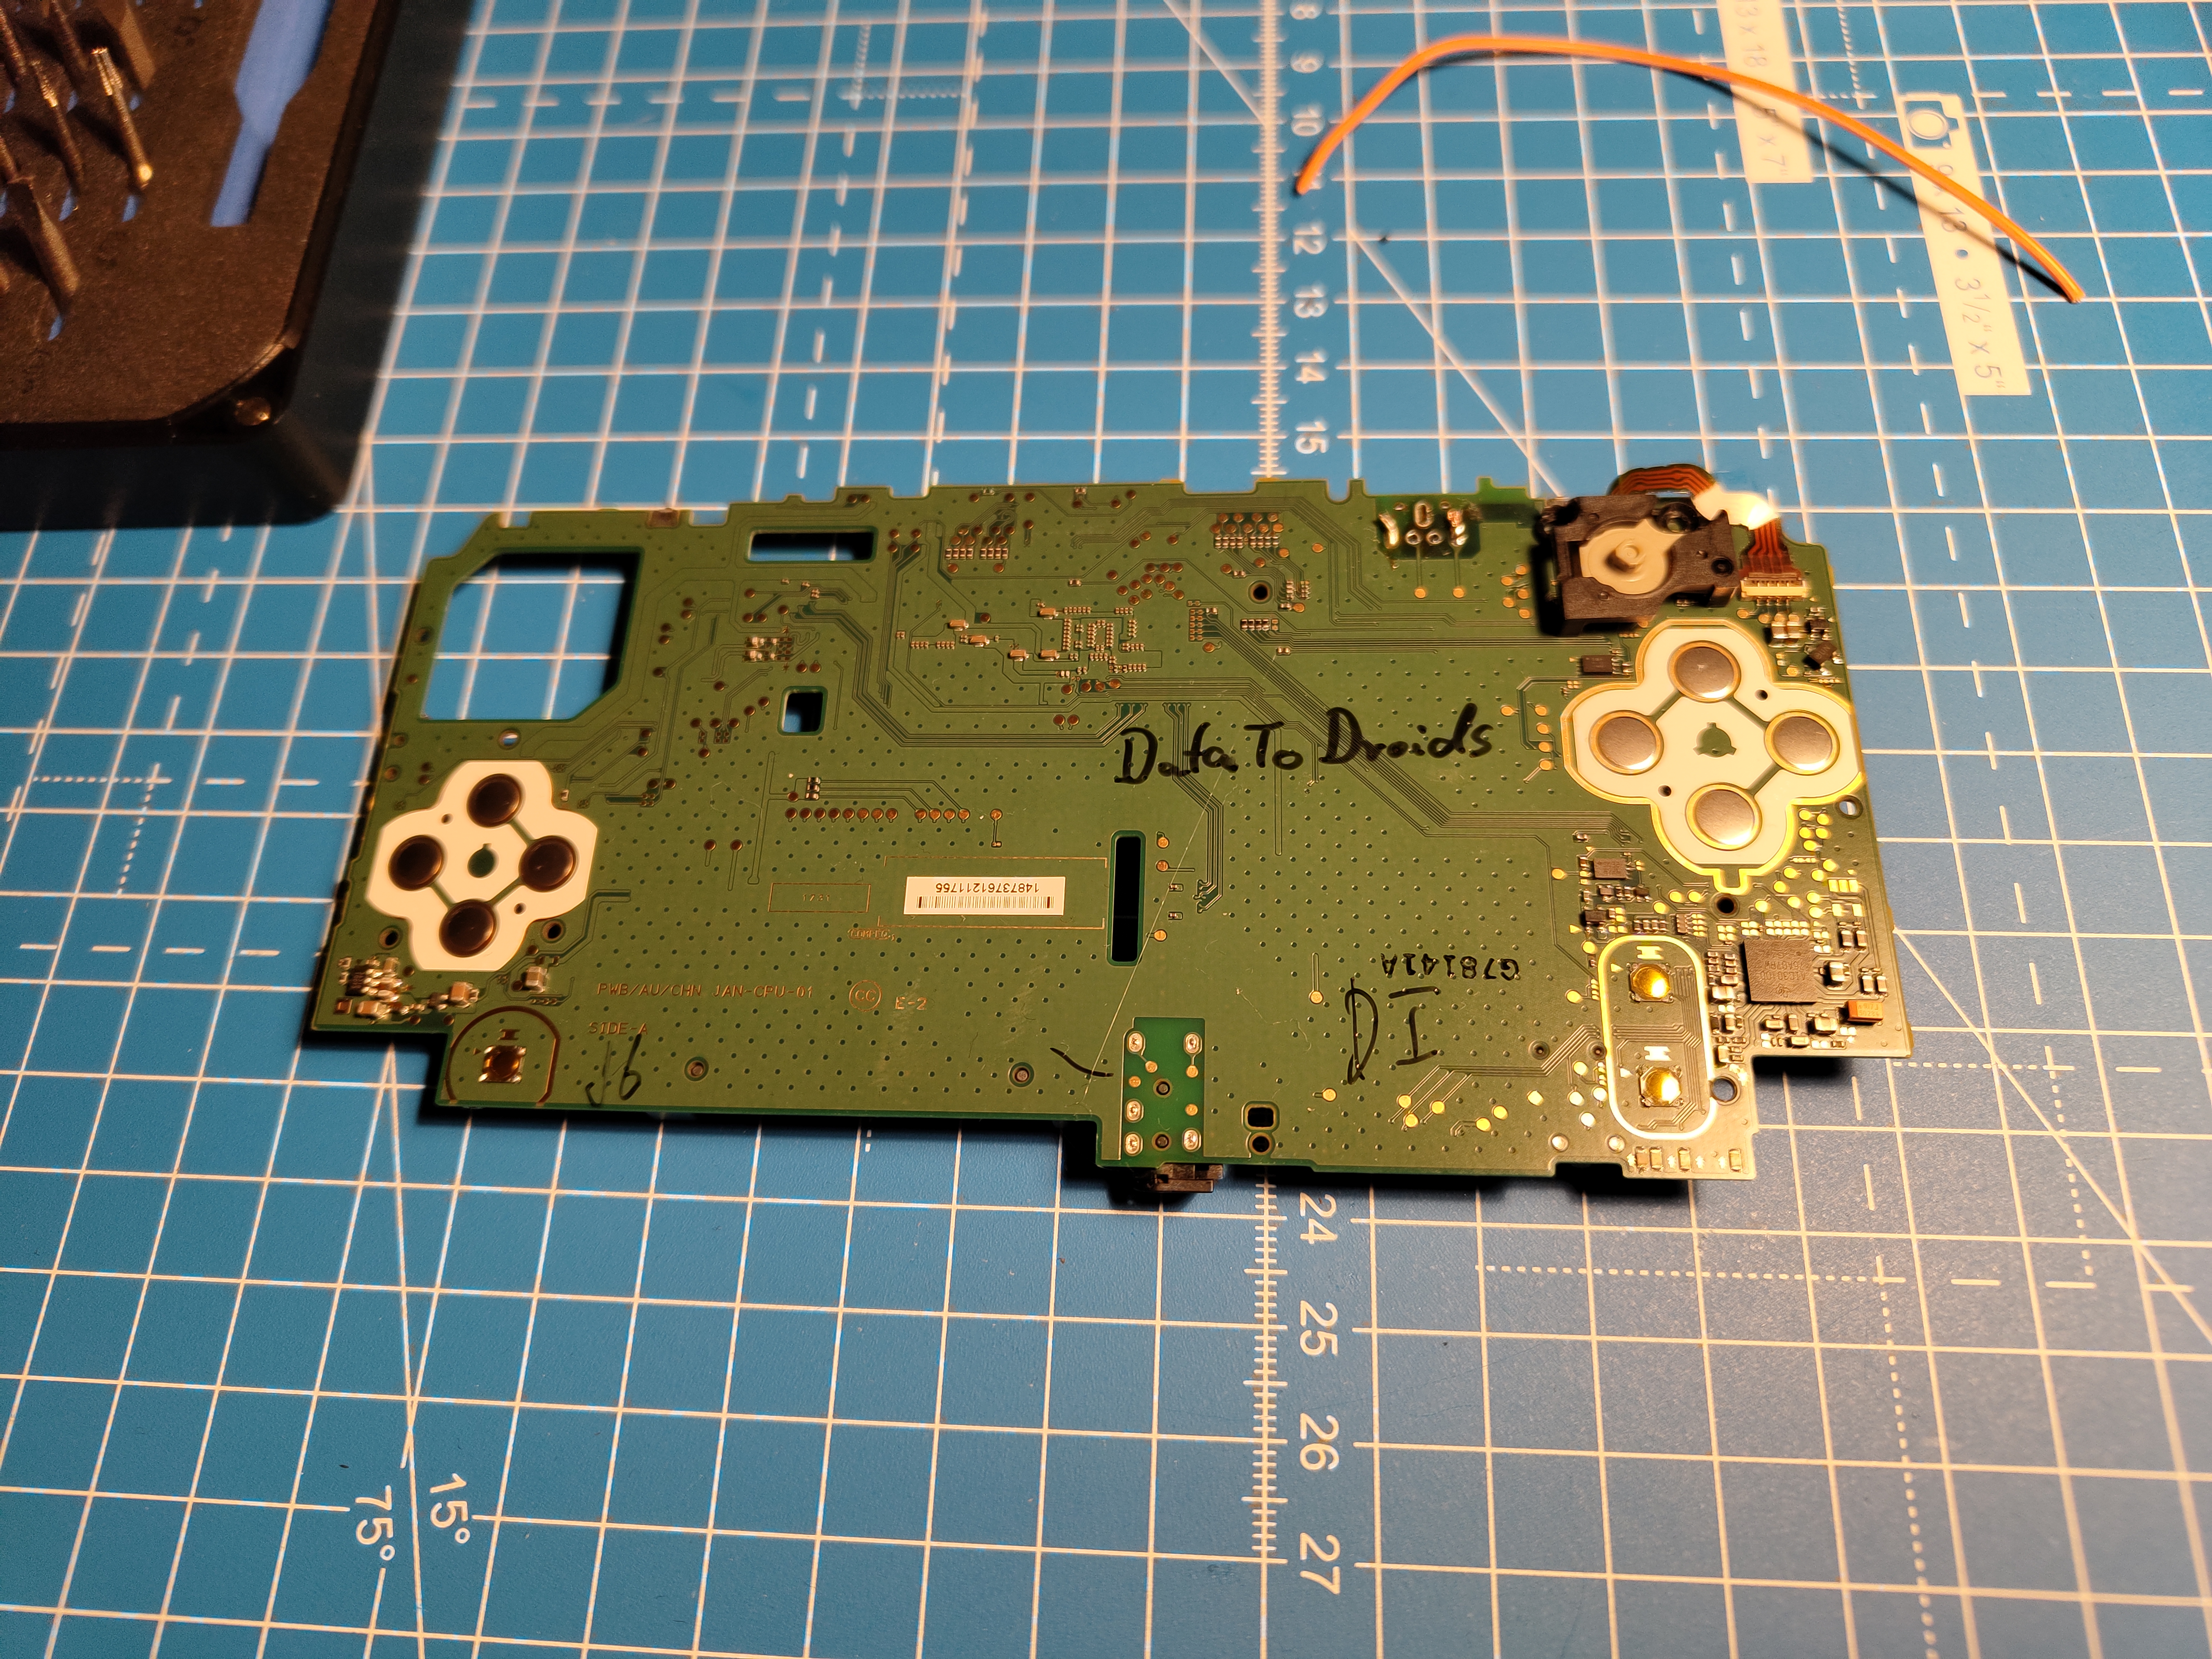
Last thing to do is to fix the volume slider. But before I start reassembling the device, I want to leave some personal mark on the circuit board…
And reassembling time! I’ll just follow the iFixit guide in reverse order to put the device back together but will insert the new volume slider before I put the top case back on.
Post Mortem#
I’ll stop here as I noticed that I messed up. First of all, the battery wouldn’t fit in place anymore because the USB-C board was in the way:
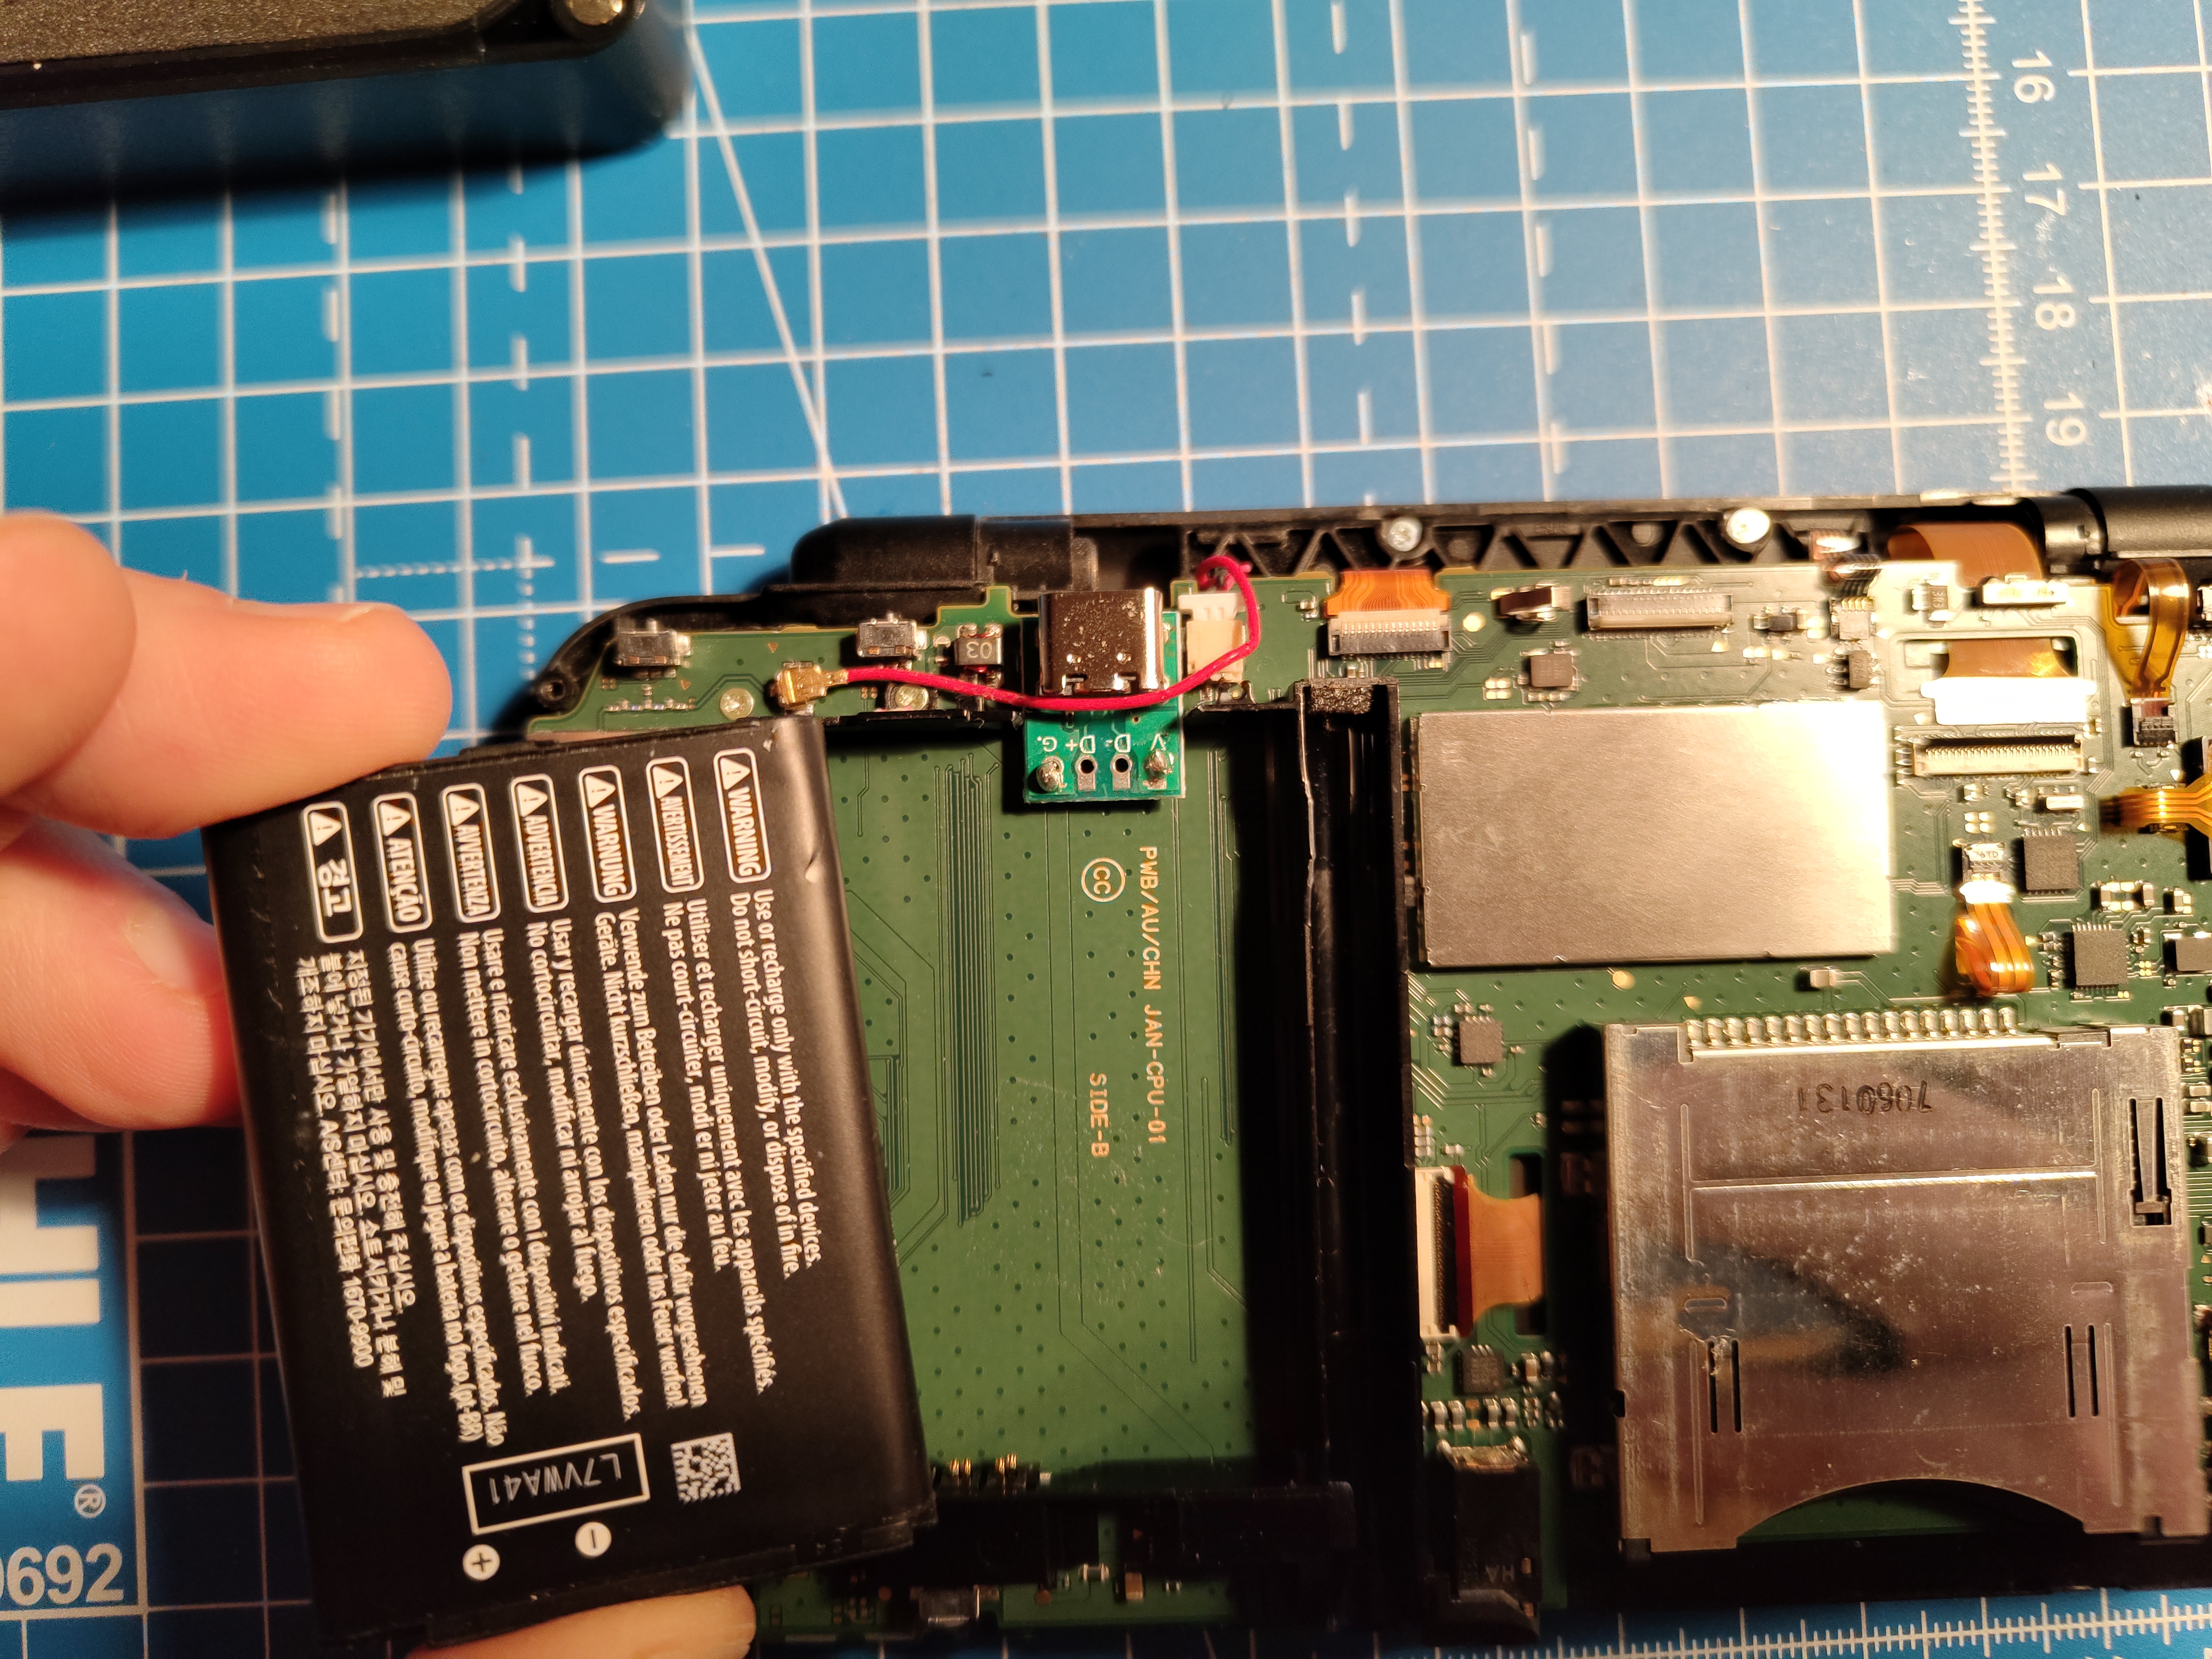
But even worse, when I tried adjusting it and tried forcing the battery in place, one of the wires broke off the USB-C board:
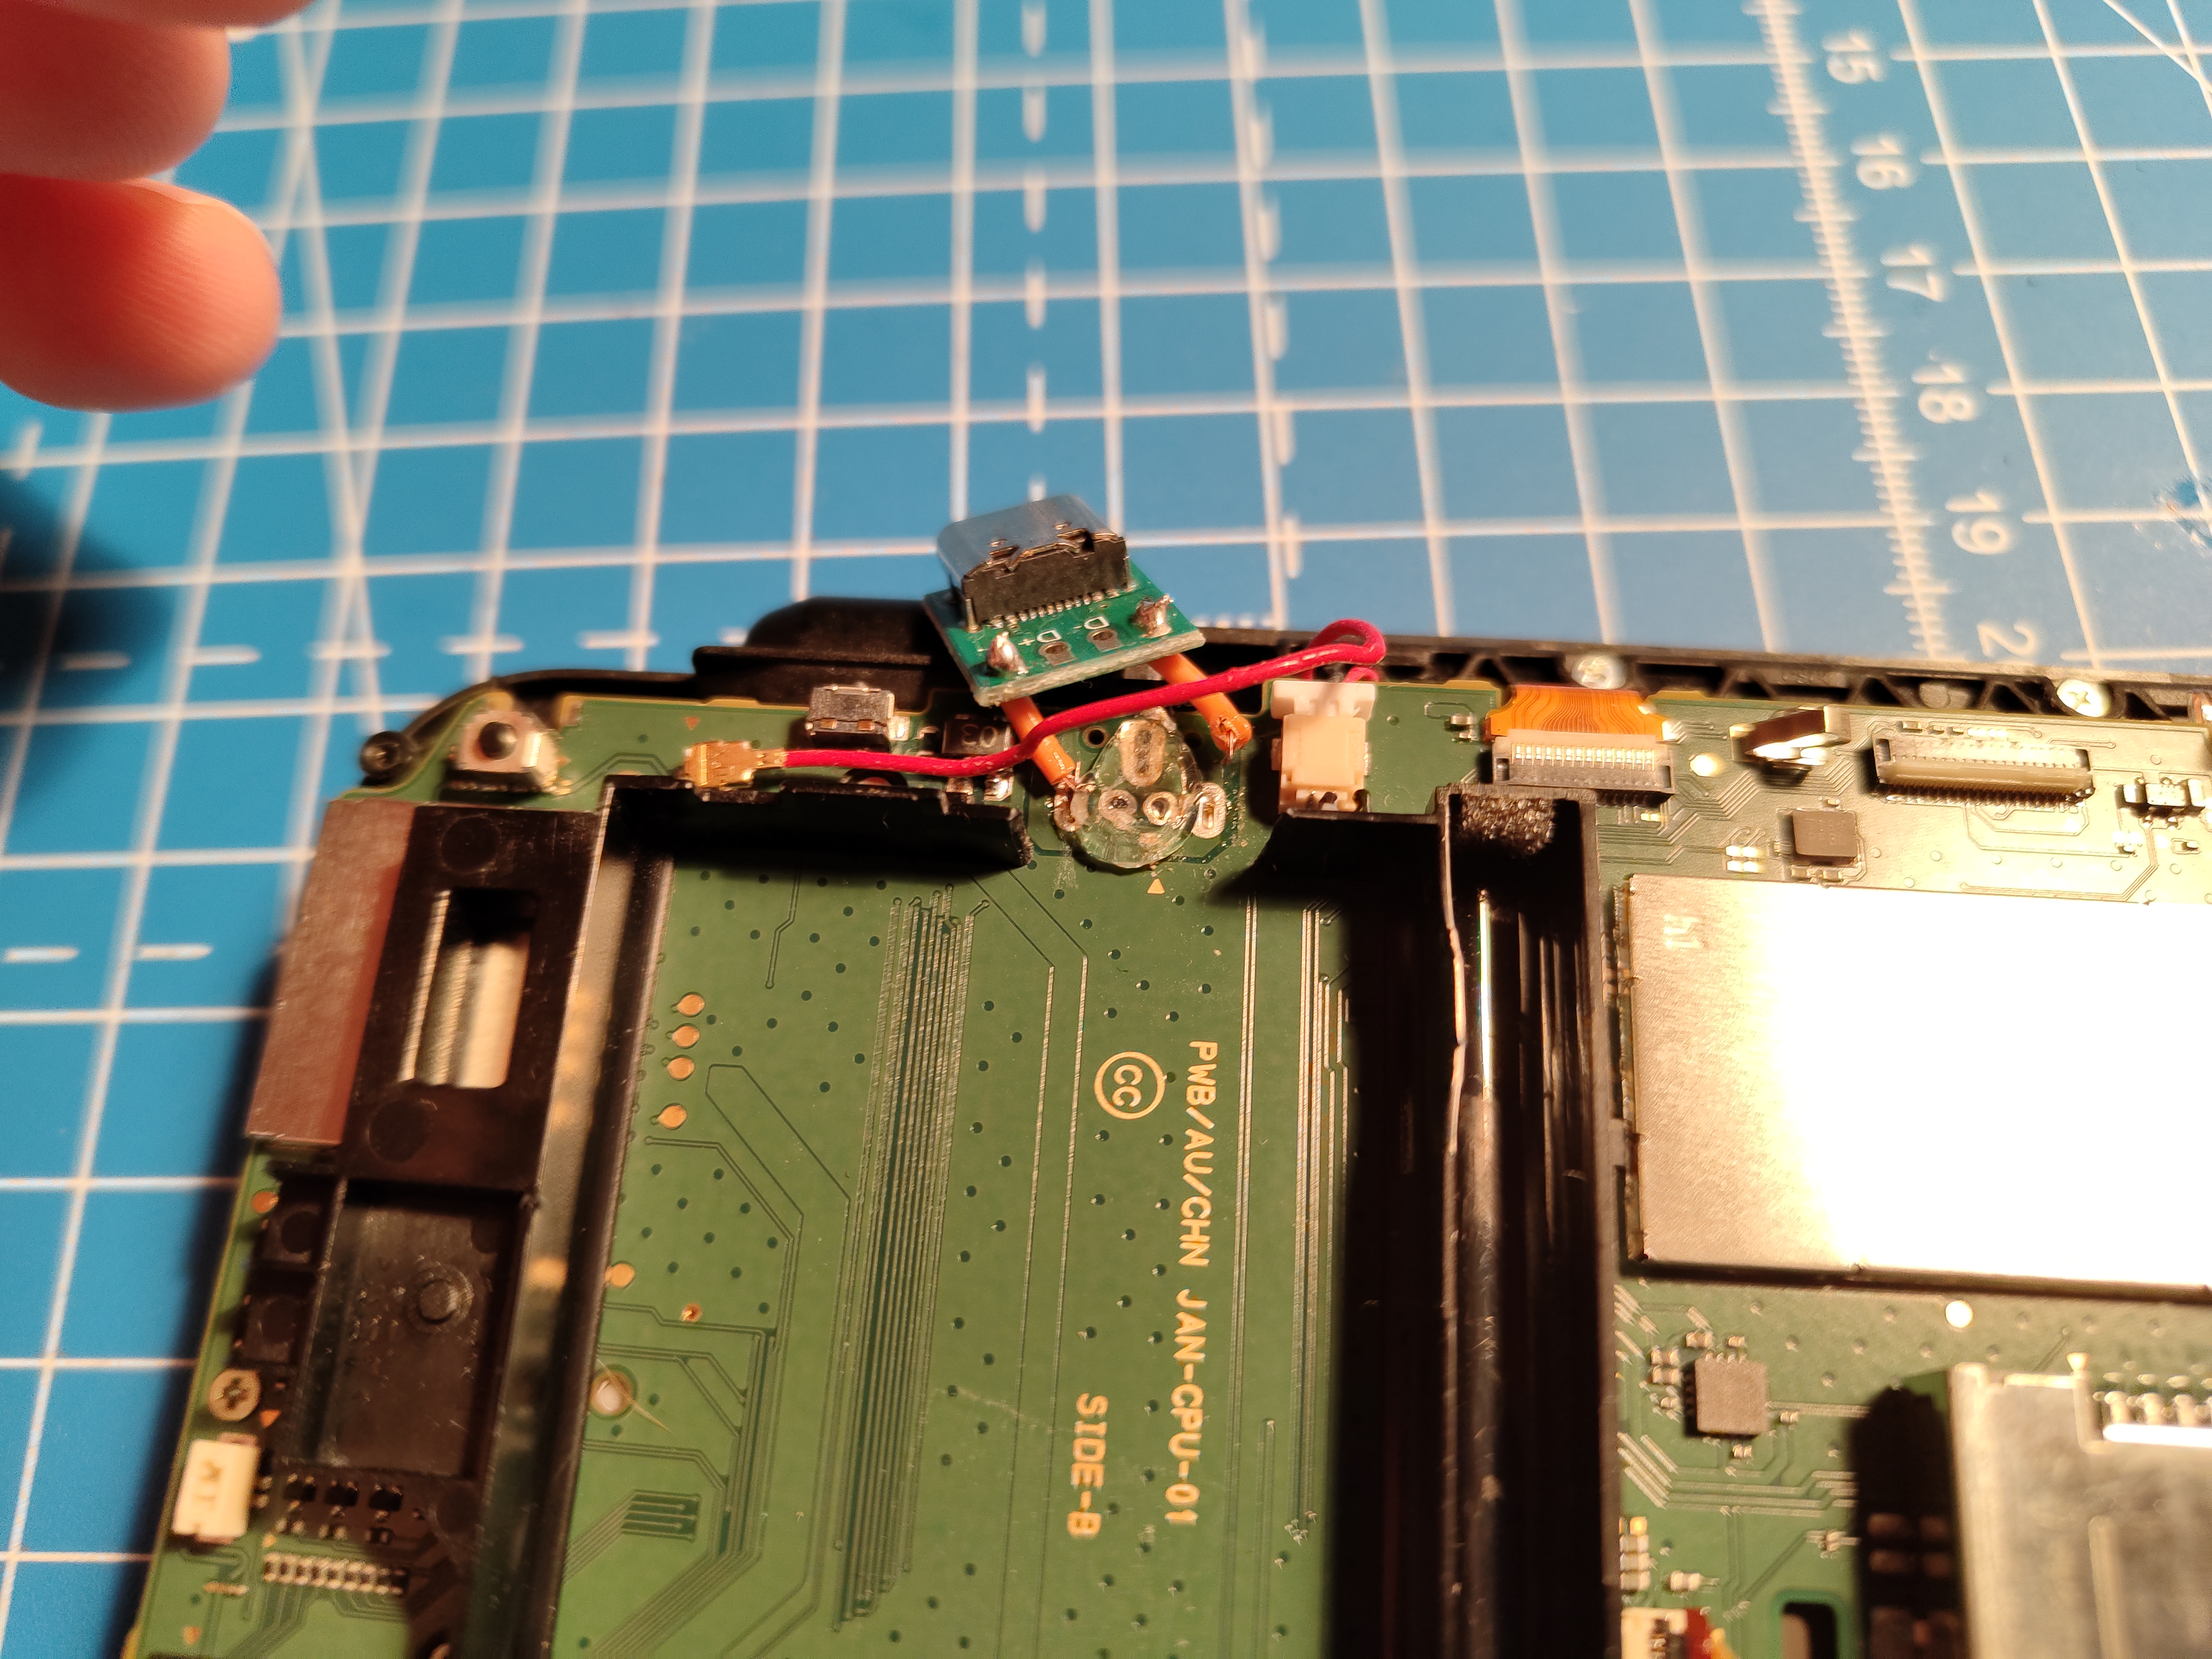
I tried to fix it by soldering the wire back on. When I tried connecting a charging cable, the device would turn on but the battery wouldn’t charge. So I think I did something wrong along the way which I have to investigate. I’ll probably try tackling this project again in the future but for now, I’ll leave it as it is. Next time, I will probably get a custom PCB made for this mod that fits in place. After browsing around a bit, I found this mod for the 3DS XL which is exactly what I want to do. I’ll probably try to recreate this mod for the 2DS XL.
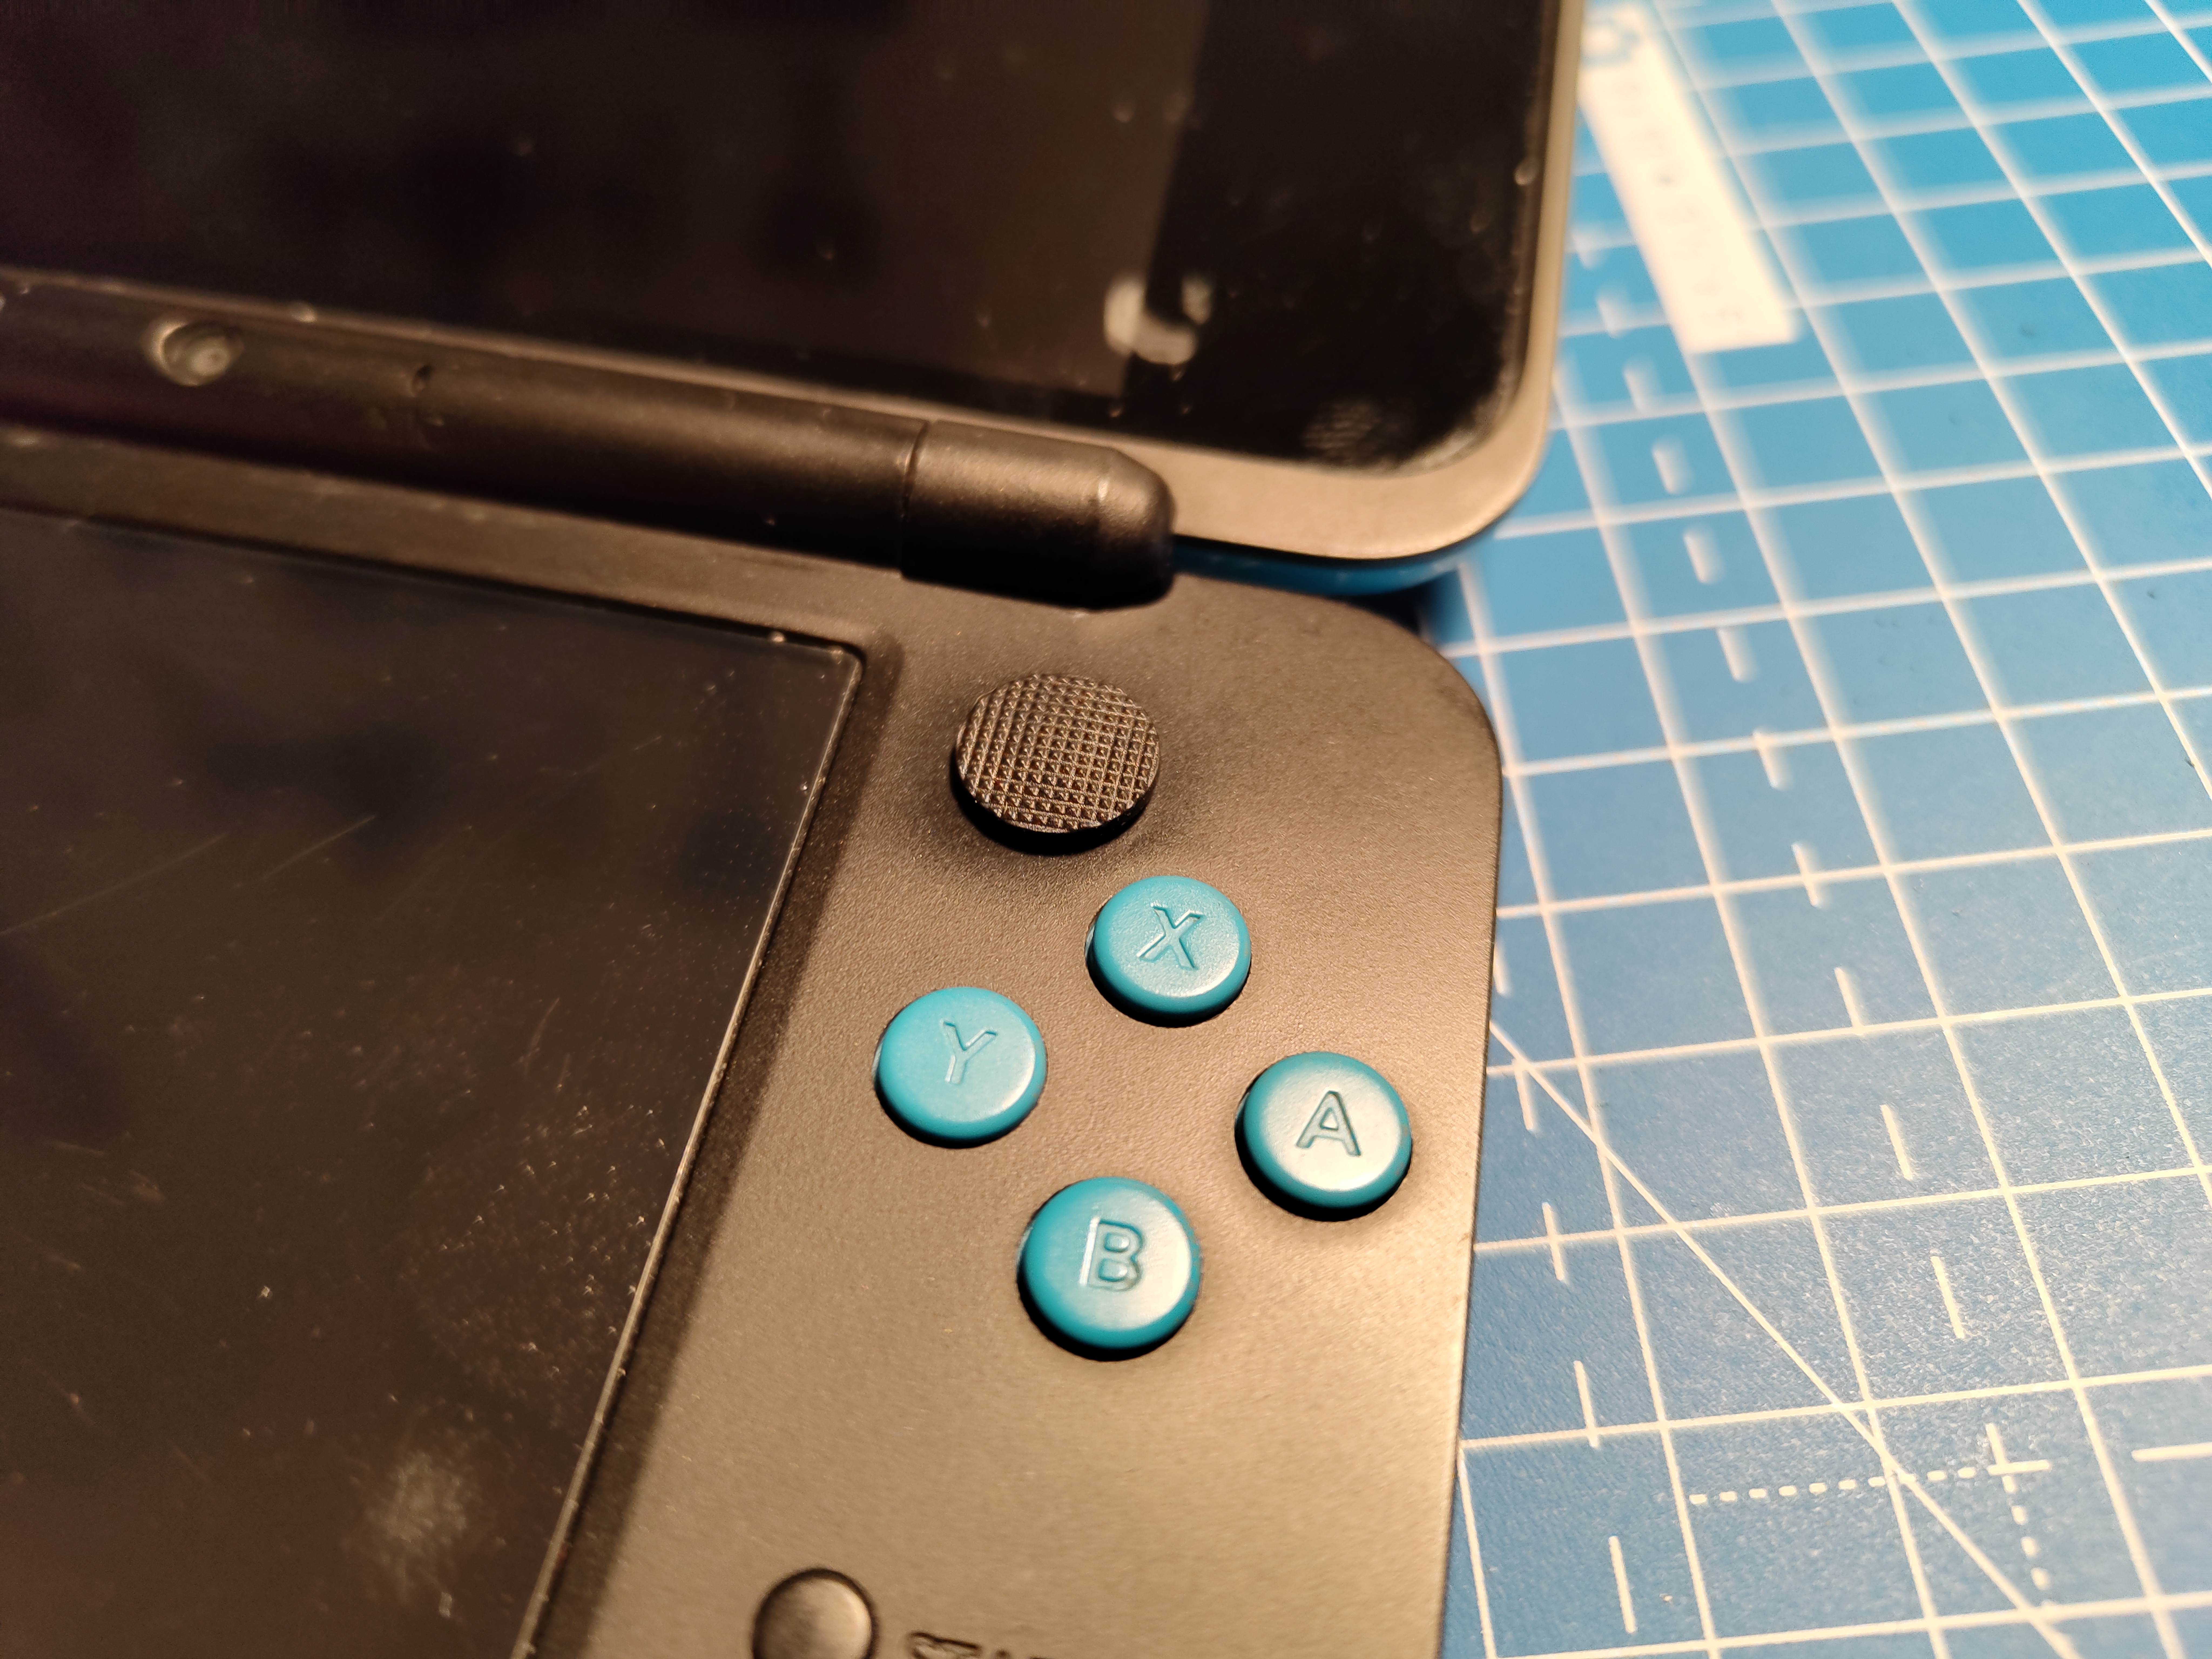
At least I can show you the PSP C-Stick mod:
Thoughts#
I’m a bit disappointed that I couldn’t finish this project and I was conflicted about posting this article. However, I decided to post it anyway because I think it’s important to show that not everything always works out as planned. I also think that it’s important to show that failure is part of the process and that it’s okay to fail. I will probably try tackling this project again in the future and I will definitely post an update if I do. In case you;re interested in custom firmware for the 2DS XL, I can recommend this guide by 3ds.hacks.guide. It’s very detailed and easy to follow. I hope you enjoyed this article anyway and I’ll see you in the next one!

