Nextcloud on the Raspberry Pi 5 - A Selfhosted Cloud
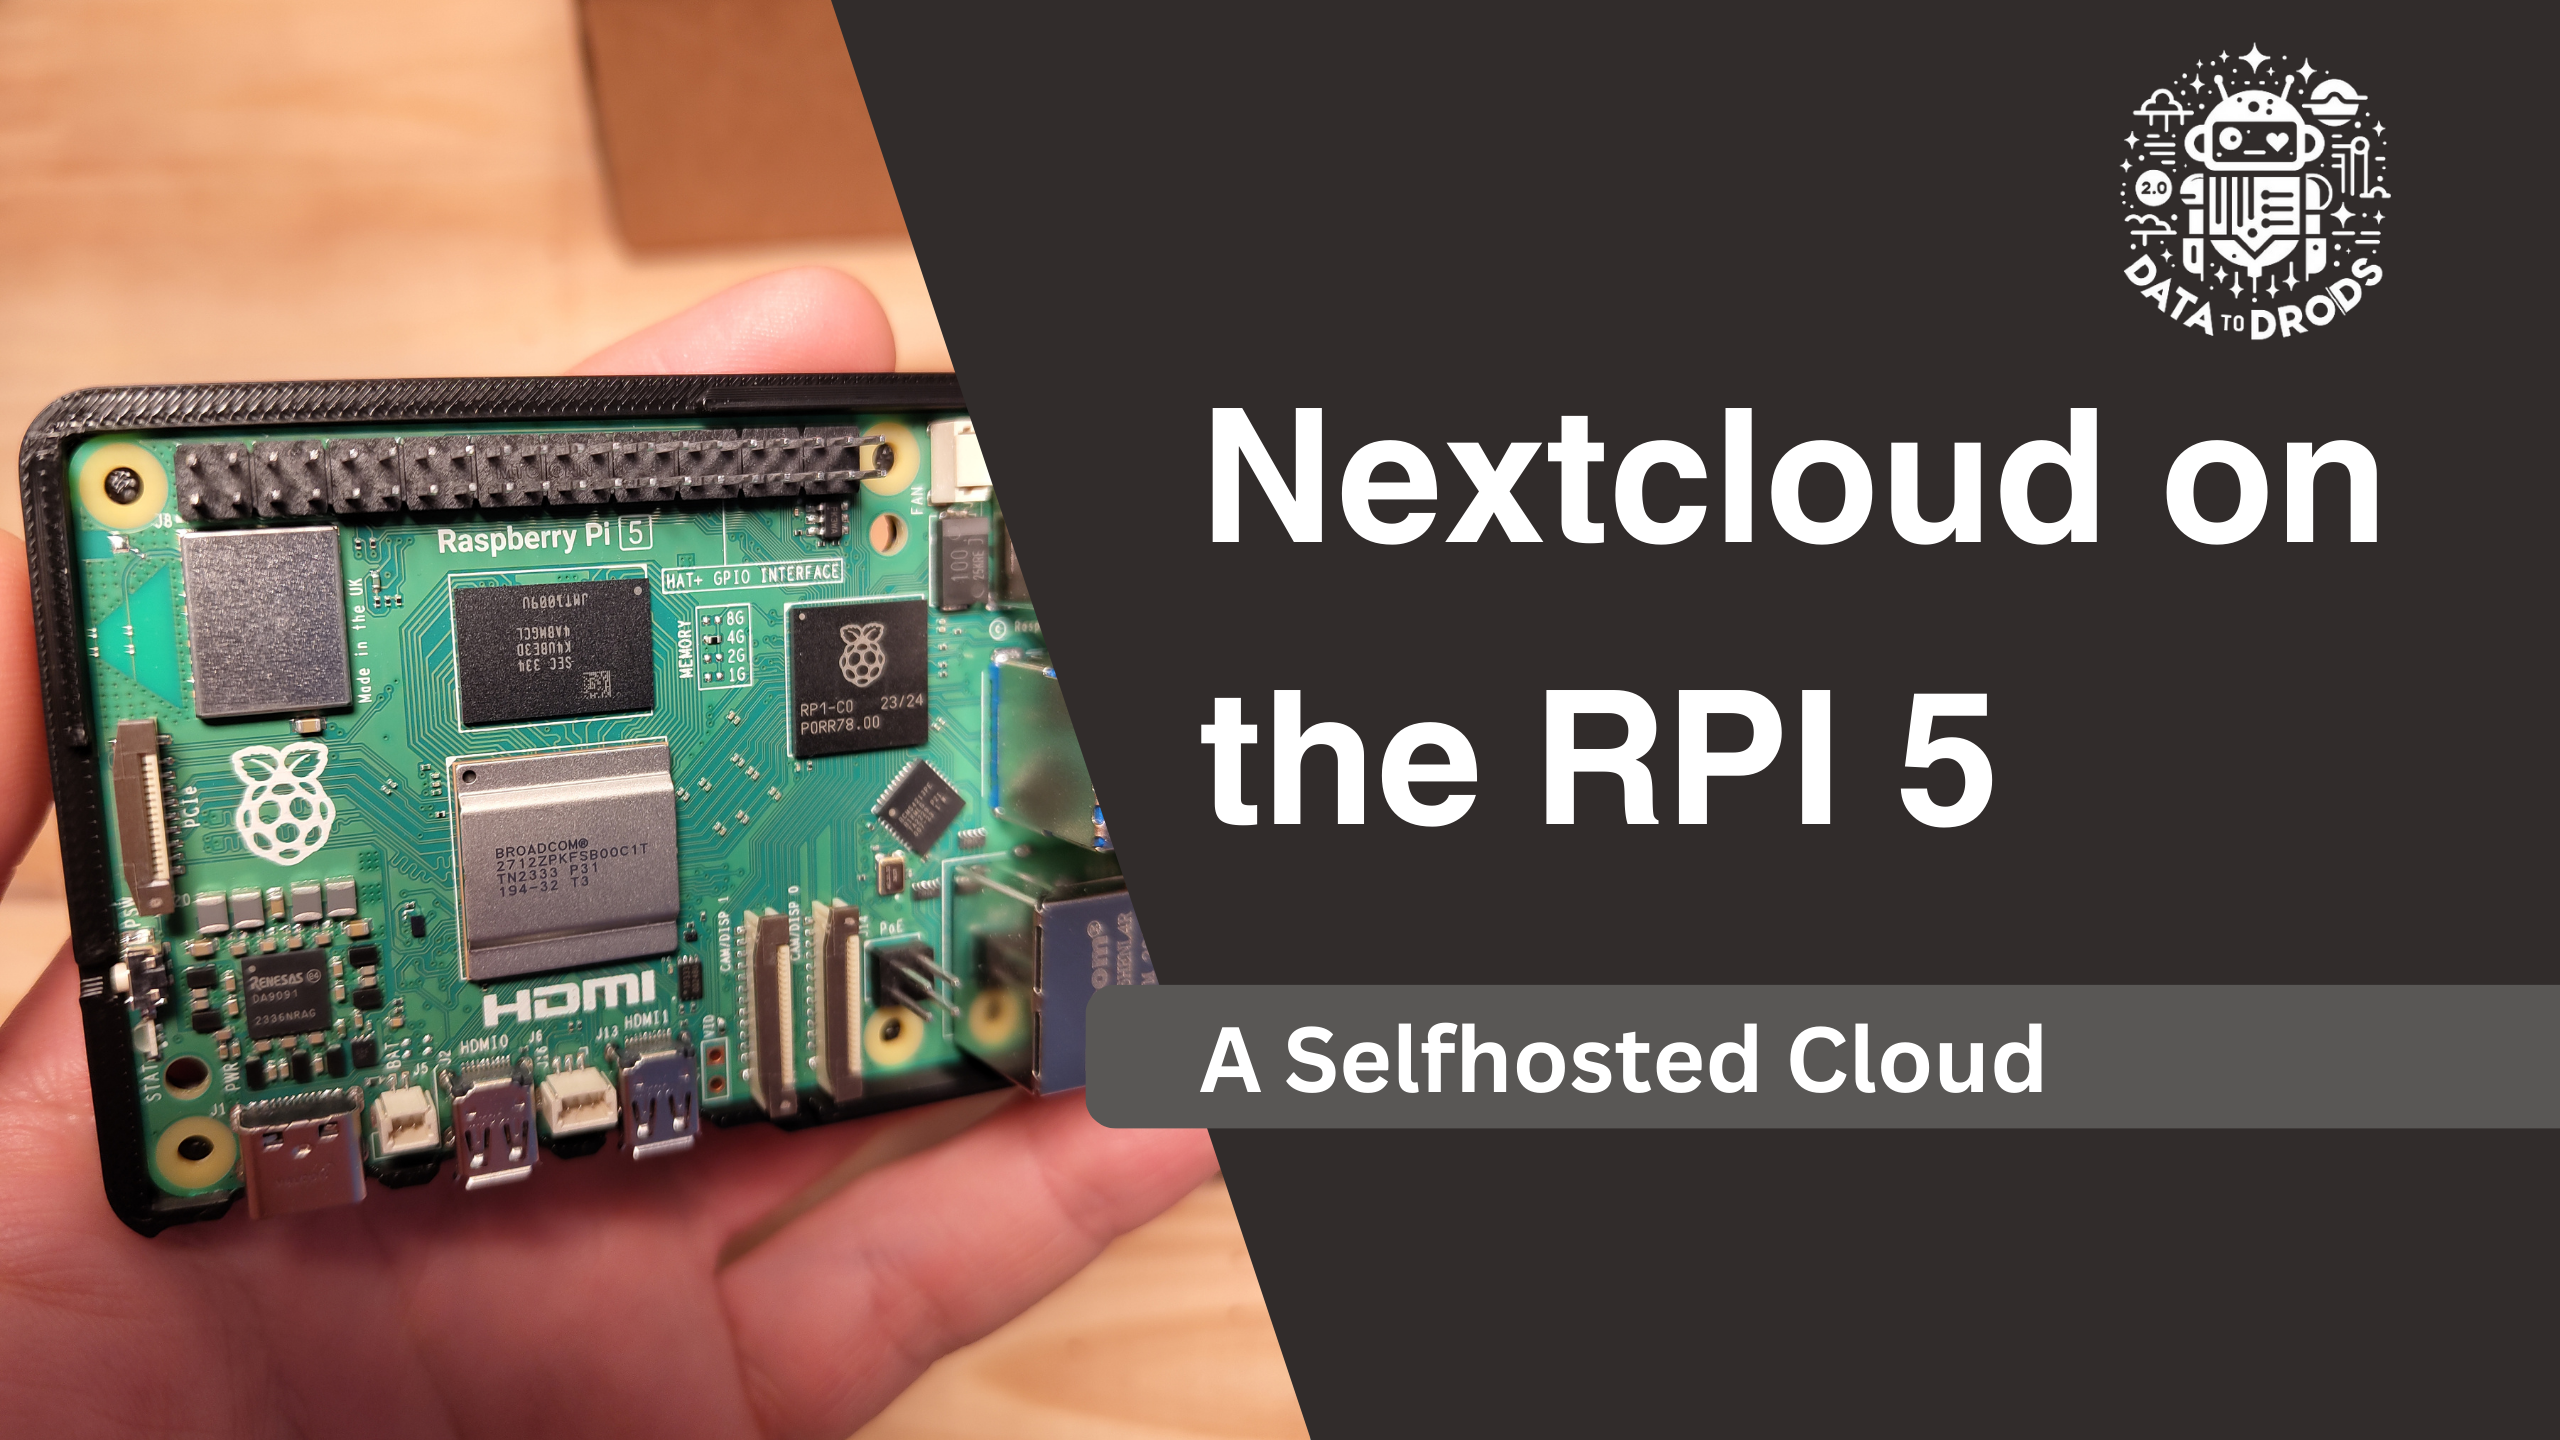
I recently got lucky and browsed Digikey at the right time to get my hands on a Raspberry Pi 5. Since I was out of PIs anyway and wanted to play around with the new one, I decided to set up a Nextcloud instance on it. Nextcloud is a selfhosted cloud solution that allows you to store files, calendars, contacts and more on your own server. It is a great alternative to Google Drive, Dropbox and the likes. A really nice feature about Nextcloud is that you can create multiple users and give them access to your cloud. This way, you can host your own cloud for your family and share photos, videos and other files with them in a private and secure way.
What do you need?
- A Raspberry Pi 5
- A microSD card (at least 16GB)
- A 27W USBC power supply
- An active cooler (semi optional)
- A case (optional)
- A USB SSD (optional)
The new Raspberry Pi 5 has a connector for a NVMe SSD. This allows you to use a SSD as the main storage for your Raspberry Pi which is a lot faster than a microSD card. I'll consider this in the near future, but for now I'm using a microSD card (since I don't have a spare SSD lying around). Also, keep in mind that the new RPI5 needs an USB-C power supply with at least 27W. I'm using the official Raspberry Pi power supply, but any other 27W USB-C power supply should work as well. The active cooler is optional, but I got it since I'll use the Raspberry Pi as a server and it will be running 24/7. The case is also optional, but I like to keep my PIs in a case to protect them from dust and other things (and I wanted to 3D print a personalized case for me - I used this one as a template).
Setting up the MicroSD Card and Raspbian
I used the Raspberry Pi Imager to flash the Raspberry Pi OS Lite image to the microSD card. I chose the Lite version since I don't need a desktop environment for my server. In the latest version of the Raspberry Pi Imager, you can also enable SSH so you can access your server via SSH right after booting it up. You can also set a user and password if you don't want to use the default user pi with the password raspberry.
After inserting the microSD card into the Raspberry Pi and connecting it to power, you can connect to it via SSH. Next I updated the system and firmware:
sudo apt update
sudo apt upgrade
Installing Docker and Nextcloud
Nextcloud is available as a Docker image which is a really convenient way to install it. So next up is installing Docker and Docker Compose:
sudo apt install docker.io

# Add the current user to the docker group
sudo gpasswd -a $USER docker

# Check if Docker is running
docker run hello-world

sudo apt install docker-compose
Next, we need to create the directories for the Nextcloud data and the Nextcloud configuration:
mkdir -p /mnt/sd/ncdata && chown -R www-data:www-data /mnt/sd/ncdata
mkdir -p nextcloud/nextcloud nextcloud/apps nextcloud/config nextcloud/mariadb
And finally, we need to create the Docker Compose file:
cd nextcloud
nano docker-compose.yml
---
version: '2'
services:
mariadb:
image: mariadb
restart: always
command: --transaction-isolation=READ-COMMITTED --binlog-format=ROW --innodb-file-per-table=1 --skip-innodb-read-only-compressed
ports:
- 9022:3306
volumes:
- /root/nextcloud/mariadb:/var/lib/mysql
environment:
- MYSQL_ROOT_PASSWORD=MySecurePassword
- MYSQL_DATABASE=nextcloud
- MYSQL_USER=root
nextcloud:
image: nextcloud
restart: always
ports:
- 8080:80
links:
- mariadb:mysql
volumes:
- /root/nextcloud/nextcloud:/var/www/html
- /root/nextcloud/apps:/var/www/html/custom_apps
- /root/nextcloud/config:/var/www/html/config
- /mnt/sd/ncdata:/var/www/html/data
environment:
- MYSQL_PASSWORD=MySecurePassword
- MYSQL_DATABASE=nextcloud
- MYSQL_USER=root
- MYSQL_HOST=mariadb
watchtower:
image: containrrr/watchtower
container_name: watchtower
restart: always
environment:
- WATCHTOWER_CLEANUP=true
volumes:
- /var/run/docker.sock:/var/run/docker.sockMake sure to change the MySQL password to something secure. Also, you probably noticed that I also included the Watchtower container. This container will automatically update all other containers when a new version is available. This way, you don't have to manually update your containers. You can also remove this container if you want to update your containers manually.
Now we can start the containers:
docker-compose up -dYou should be able to access your Nextcloud instance at http://<your-ip>:8080.