
Pumping Heart - The Story of an Oscillator and a Motor#
This is the story of when an oscillator and a motor met and fell in love. They became one and created a pumping heart ❤️ My idea is to create a heart that pumps in a rhythmic way. I want to use a motor to create the pumping motion and an oscillator to control the speed of the motor. I’d also like to use an LDR (light dependent resistor) to control the speed of the oscillator. The idea is that the heart would beat faster when it is darker and slower when it is lighter.
The Oscillator#
Let’s start with the oscillator. I’ll use a Schmitt-Trigger-Inverter (40106) to create a simple oscillator. According to the British Heart Foundation, the average heart rate is 60-100 beats per minute. So let’s try to create an oscillator that oscillates at 60 Hz first and show the heart beat via an LED.
The Circuit#
I used the following circuit to create the oscillator:
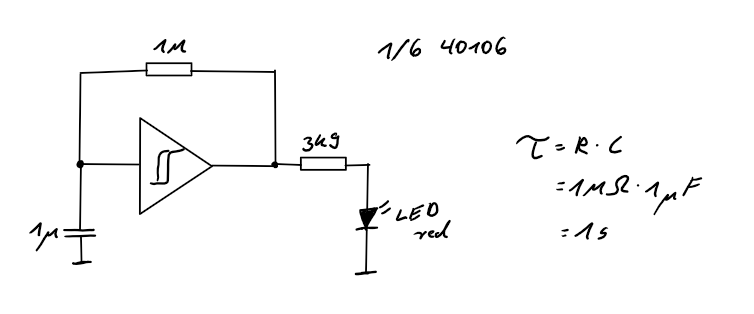
As you can see, I used a 1uF capacitor and a 1M Ohm resistor. Using the RC time constant formula, we can calculate the frequency of the oscillator:
t = RC = 1s
Let’s test it:
That works!
The Motor#
Now let’s try this with a motor. Fot that, I’ll use an old Lego Technic motor that I got from eBay. These motors are pretty cool since they can be operated with 9V and they have a built-in gearbox. Since they were designed for Lego, they also have a standard Lego mount which makes it easy to attach them to other Lego parts. However, that also means that they don’t have wire leads which means that I’ll have to cut the Lego connector and solder some wires to them.
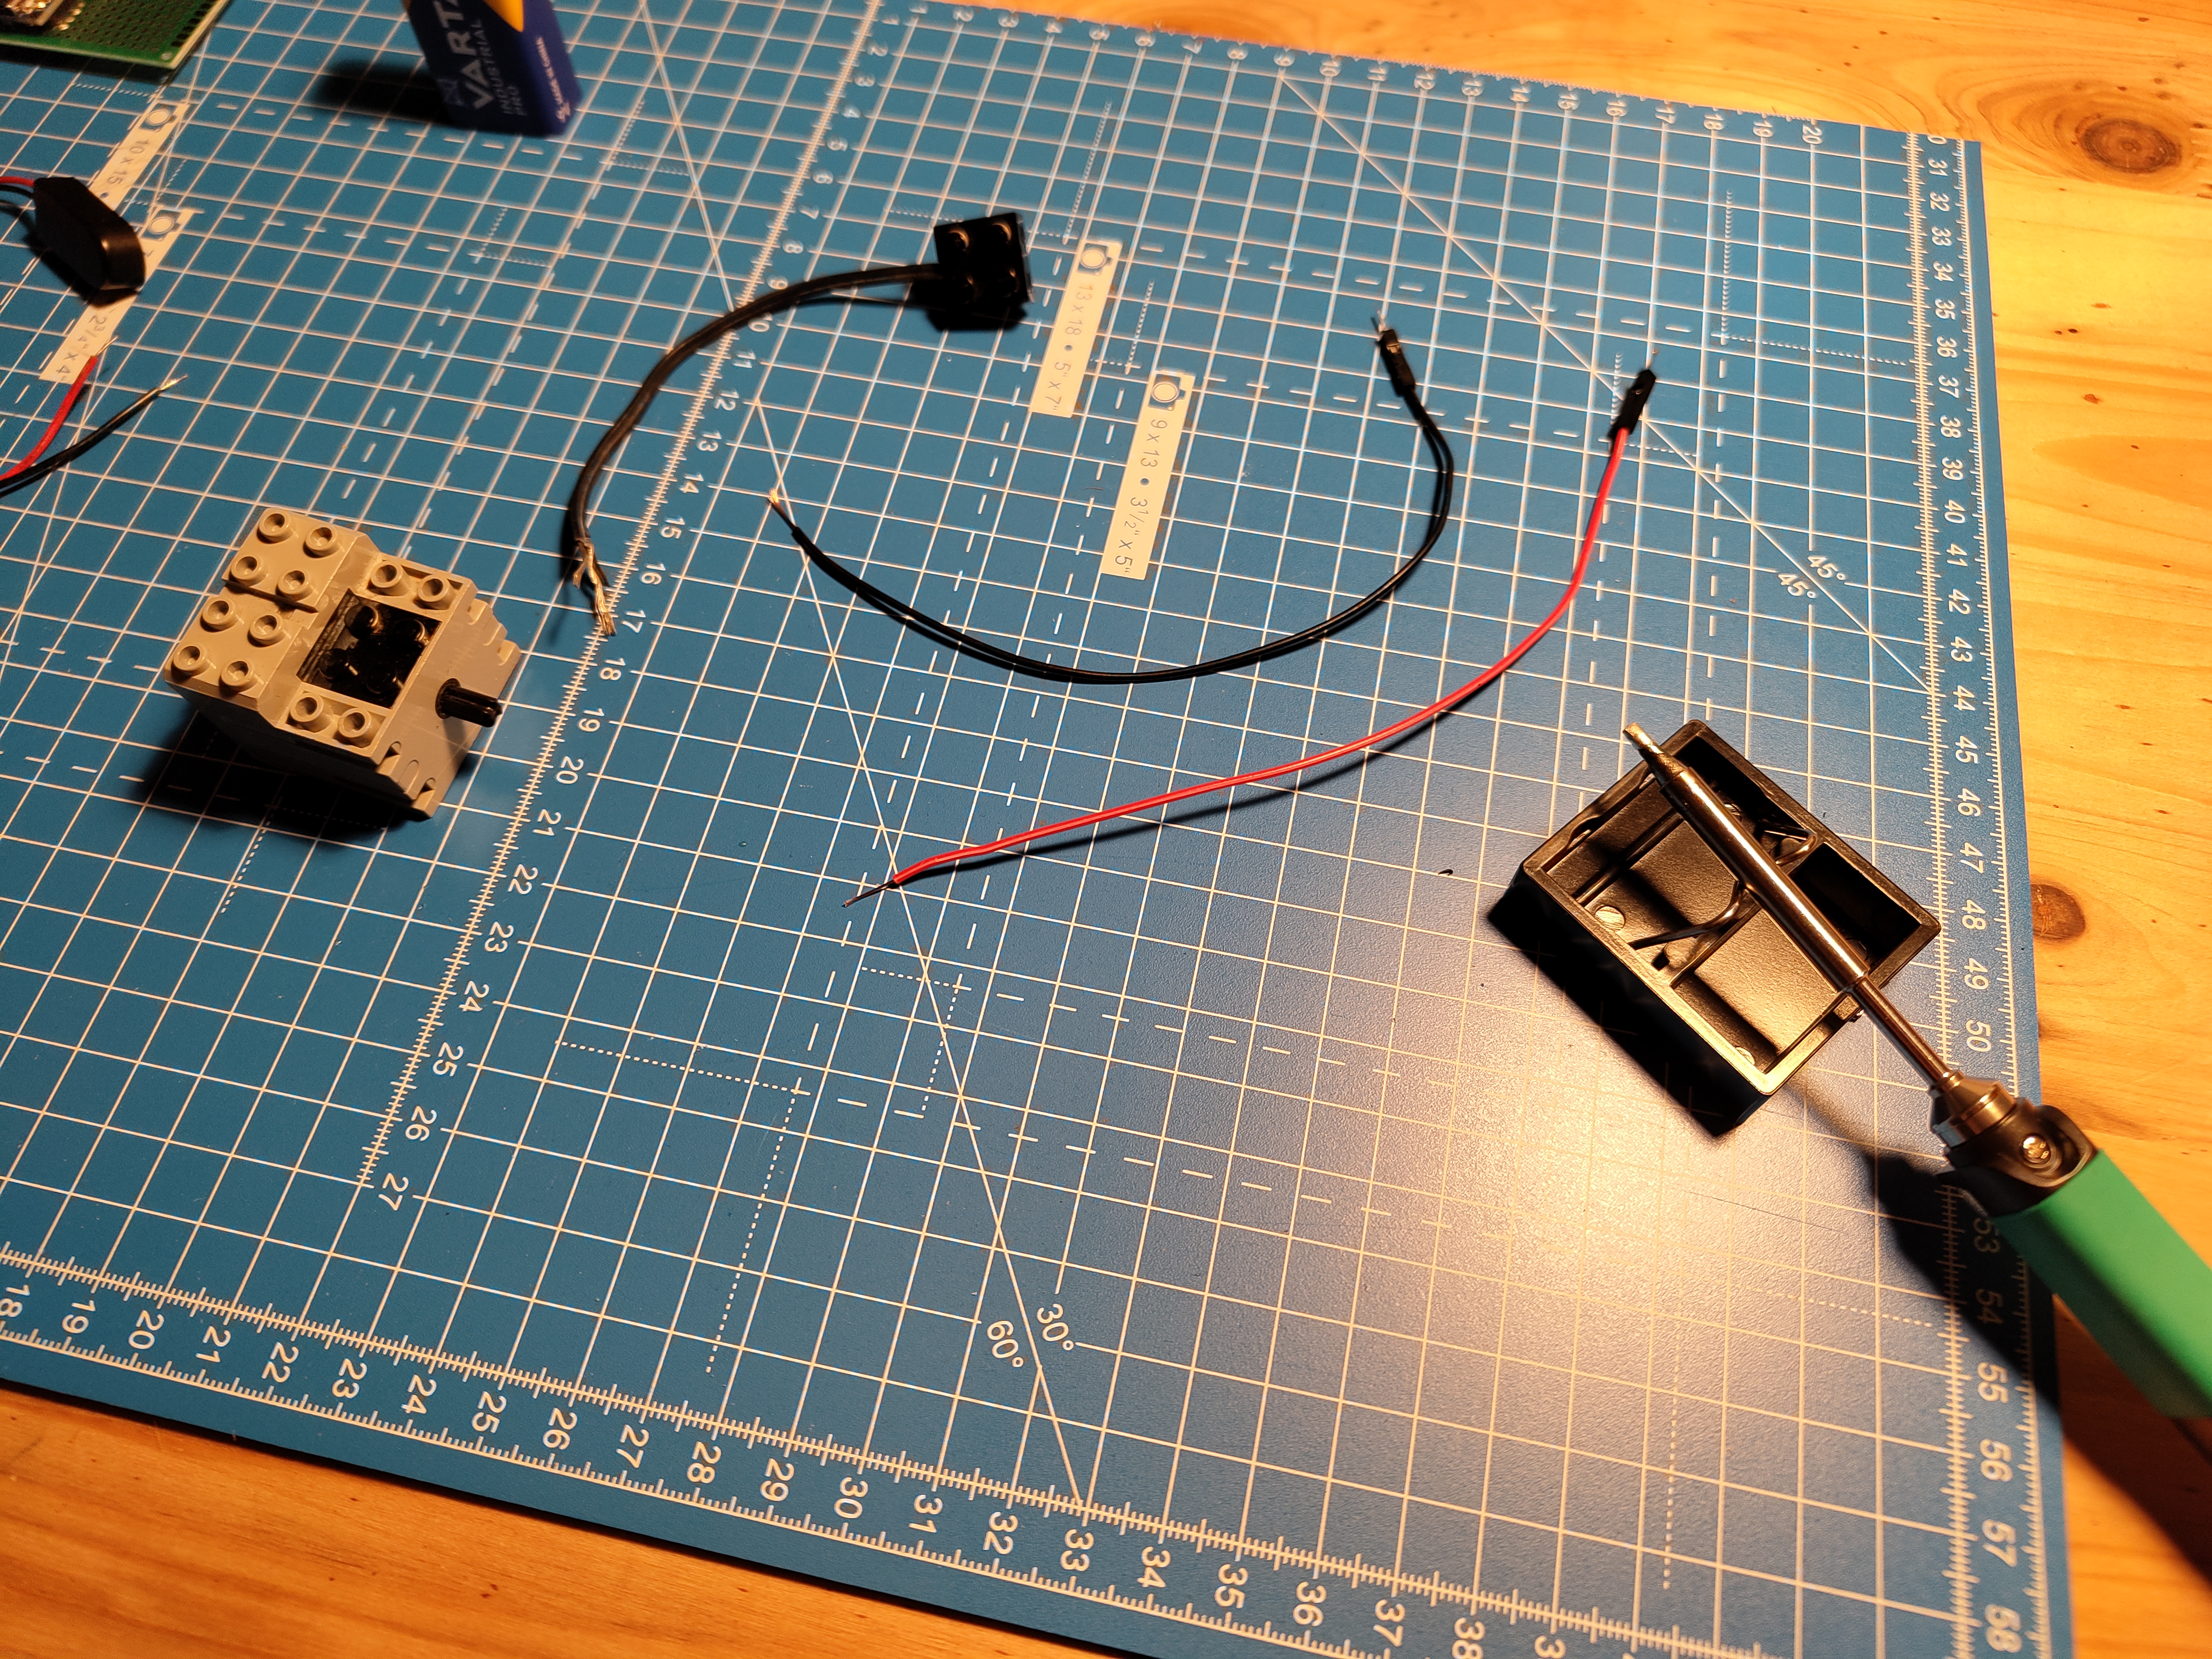
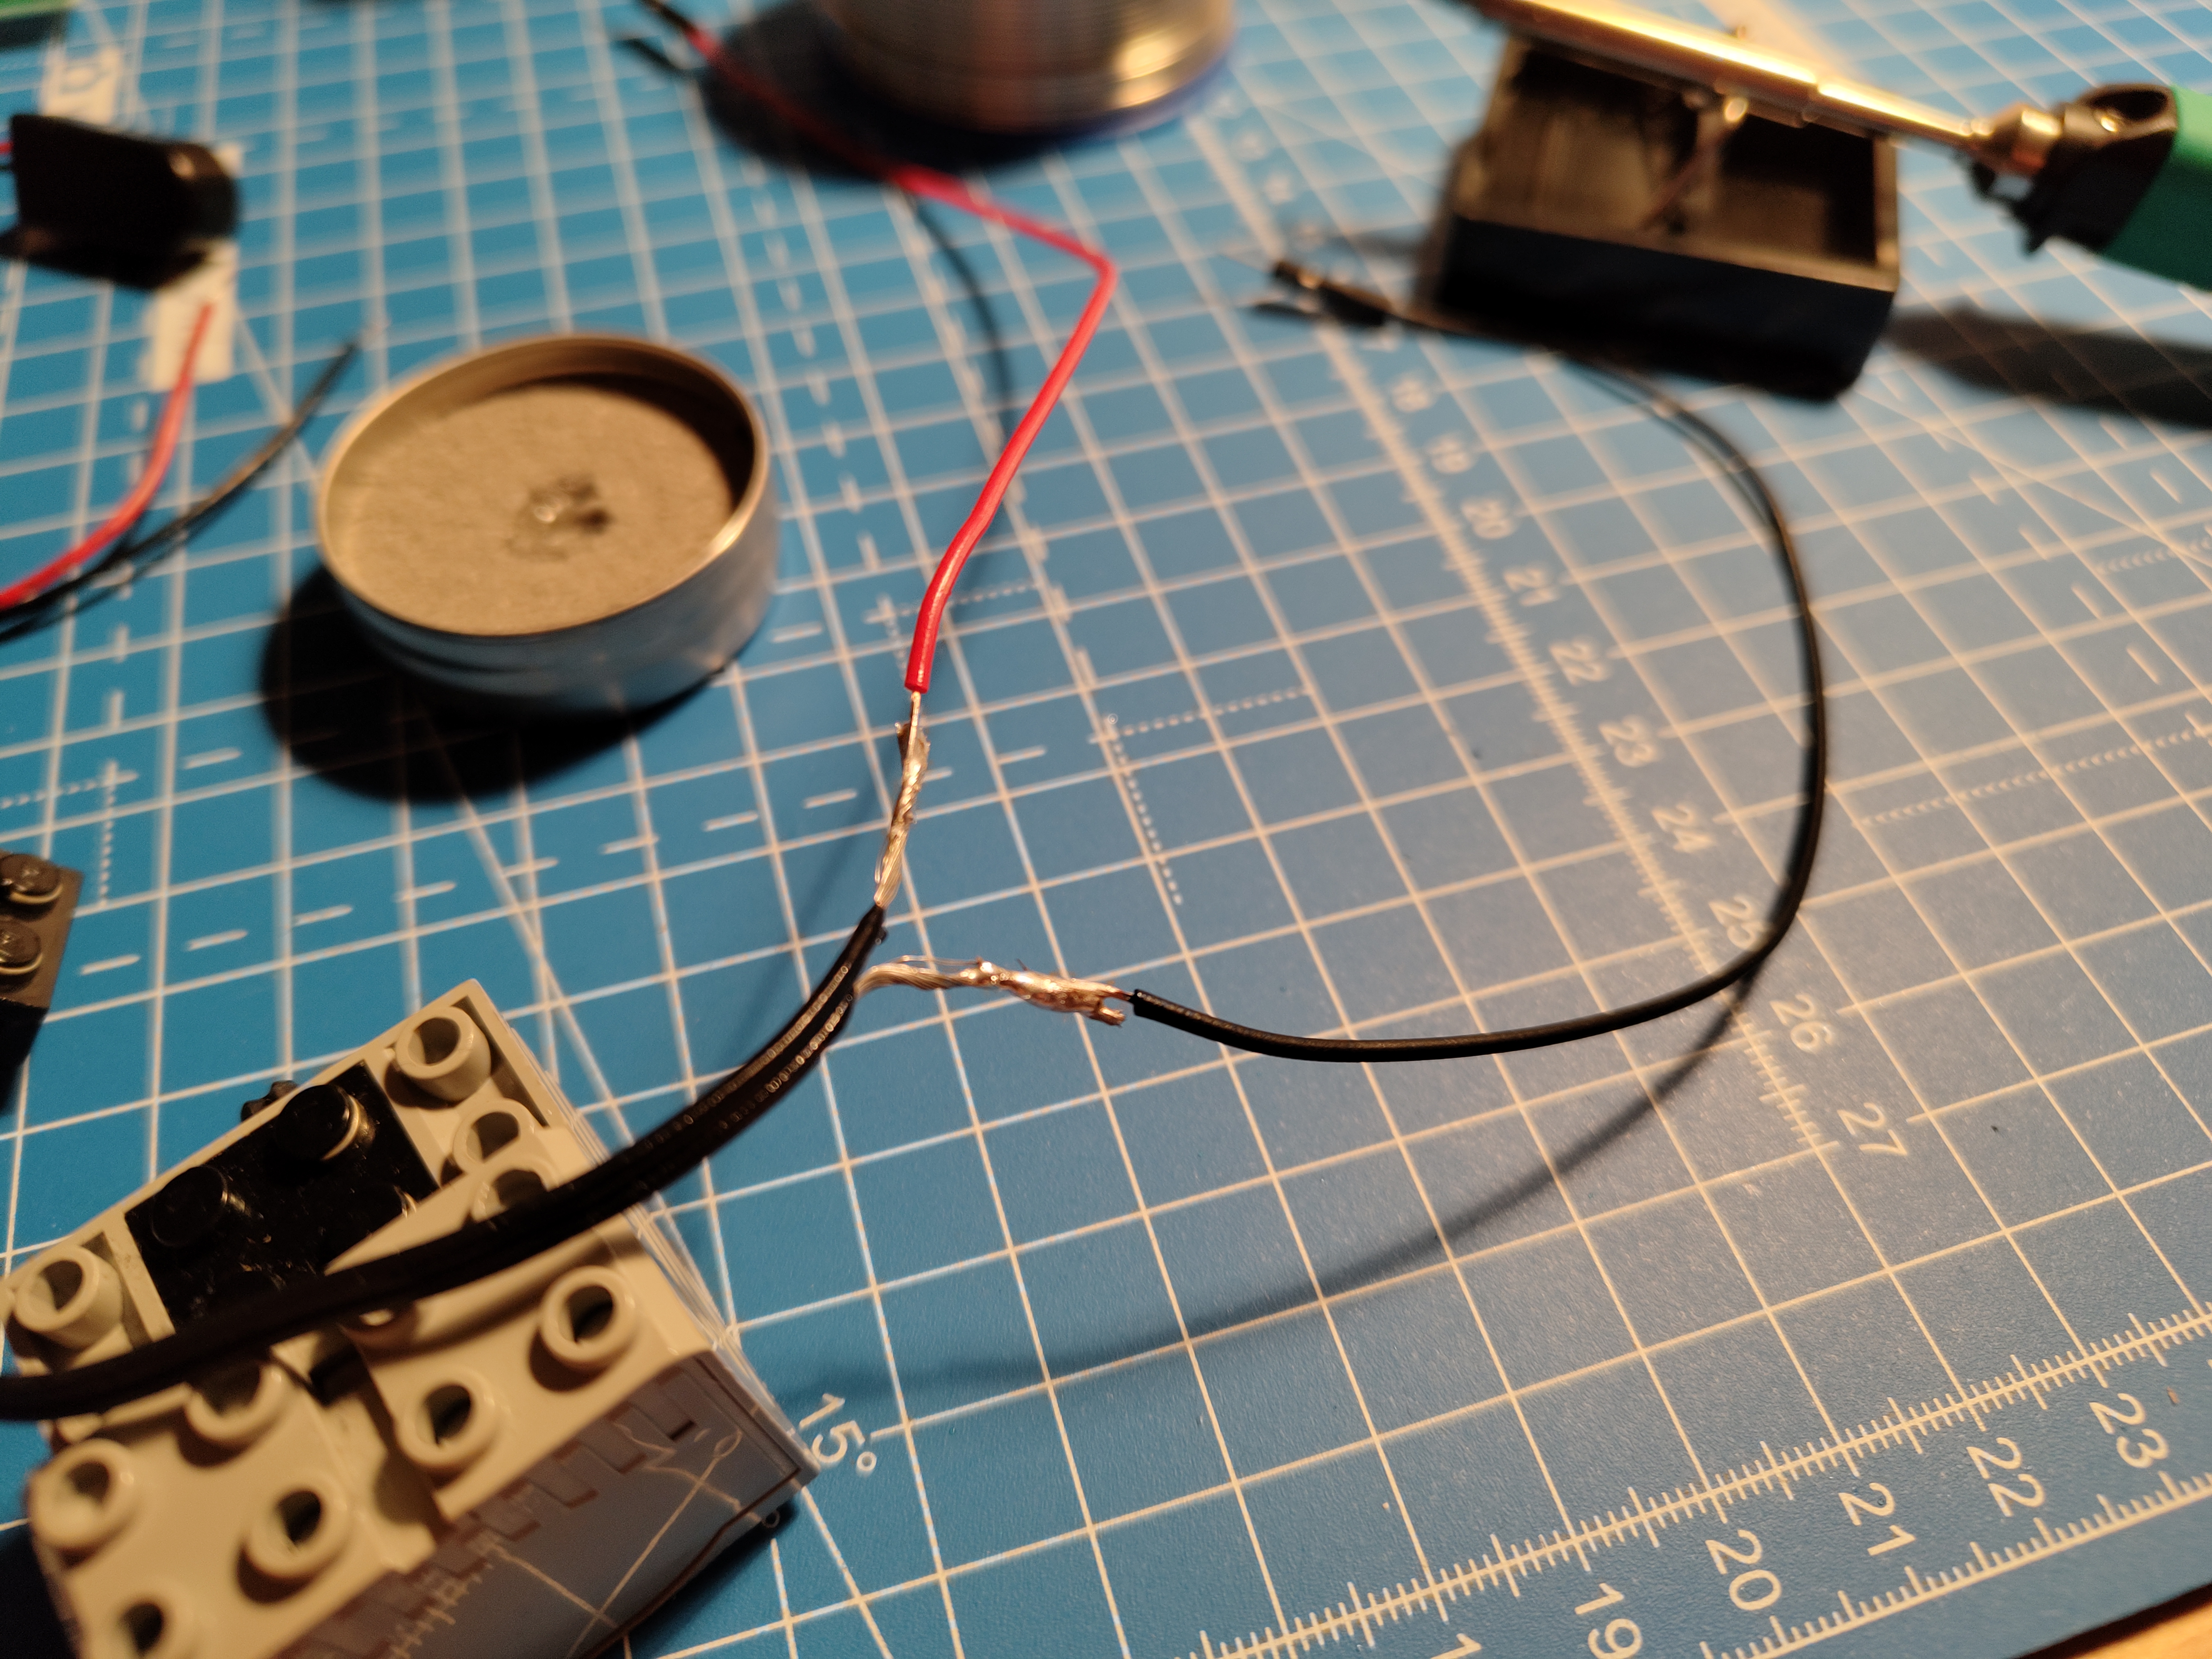
That’s sufficient for now (will look better with heat shrink tubing later). Let’s try to connect the motor to the oscillator:
That looks promising! The motor might be running a bit too long but I’ll see if that must be adjusted once I have the heart assembled.
The Heart#
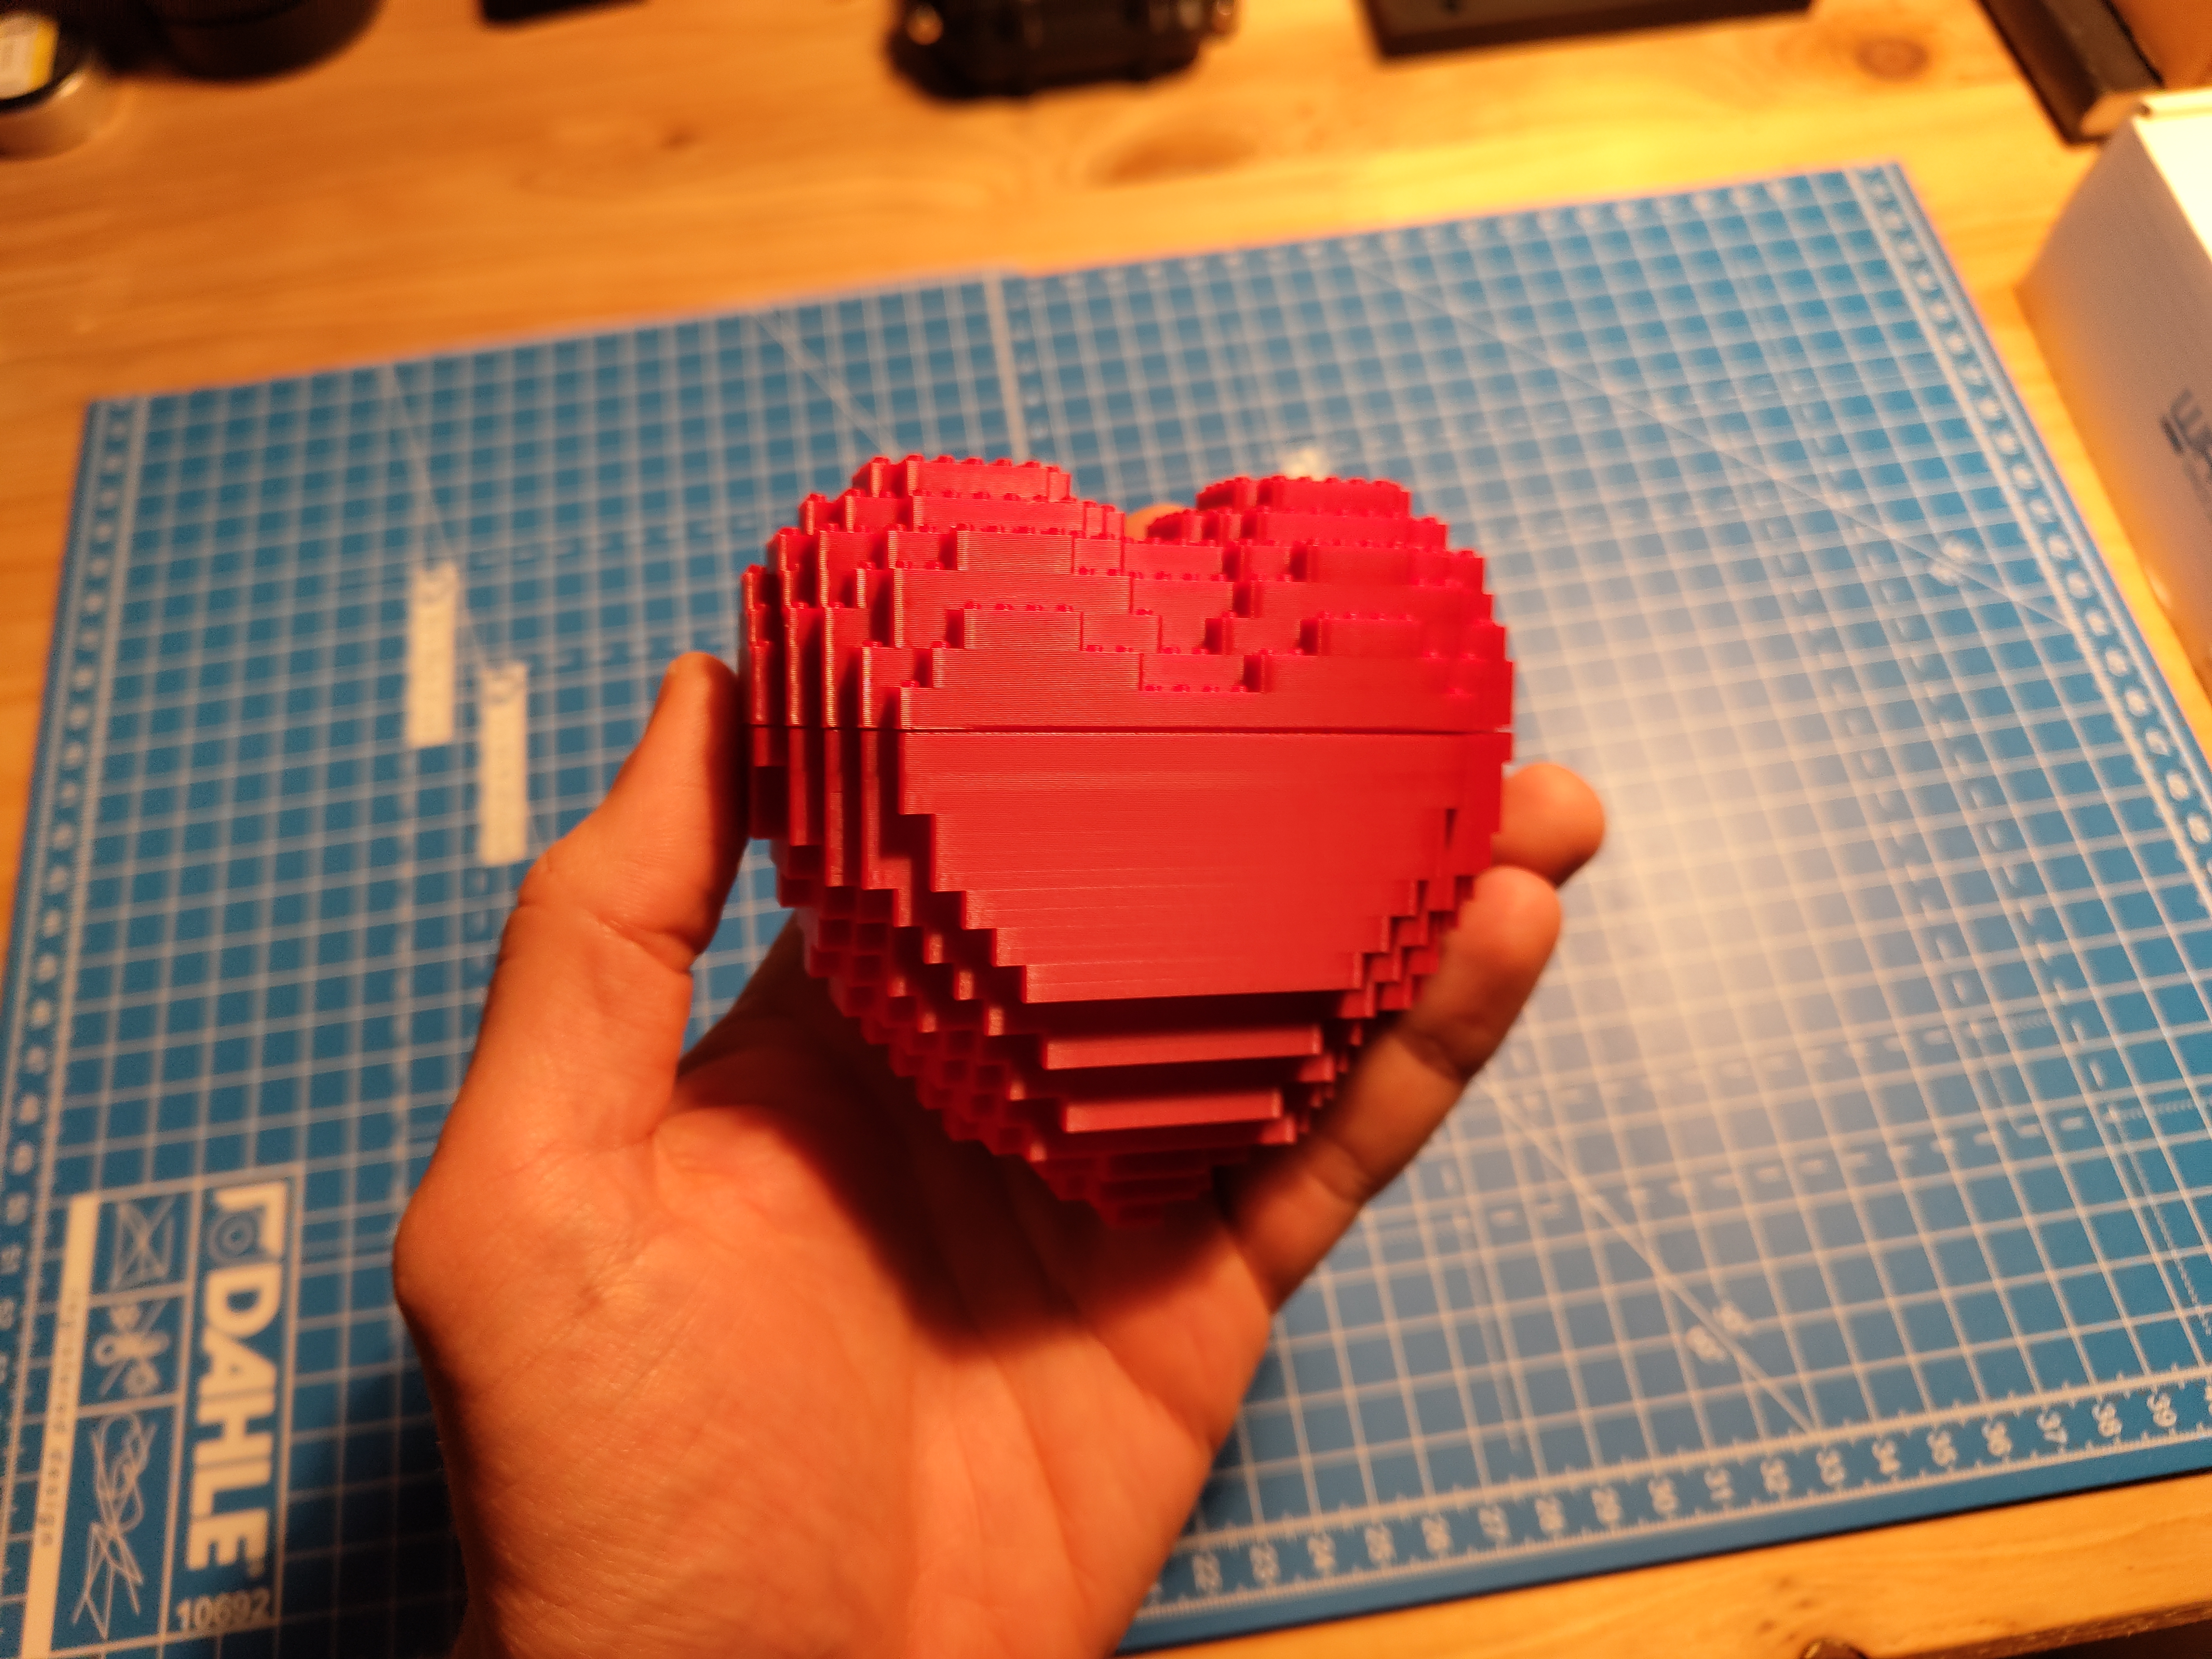
Now that the tech is mainly taken care of, it is time to think about the heart itself. Luckily, I found a nice model on Printables that I can use. It’s a Lego themed heart which is a perfect match for the Lego motor. Let’s print it! I’ll use red PLA+ filament from eSun for this and I’m pretty excited to see how it will turn out since I’ve only used BambuLab PLA for printing so far.
Part one is pretty straight forward, no support needed:

Part two has some overhangs and I therefore use supports for it:
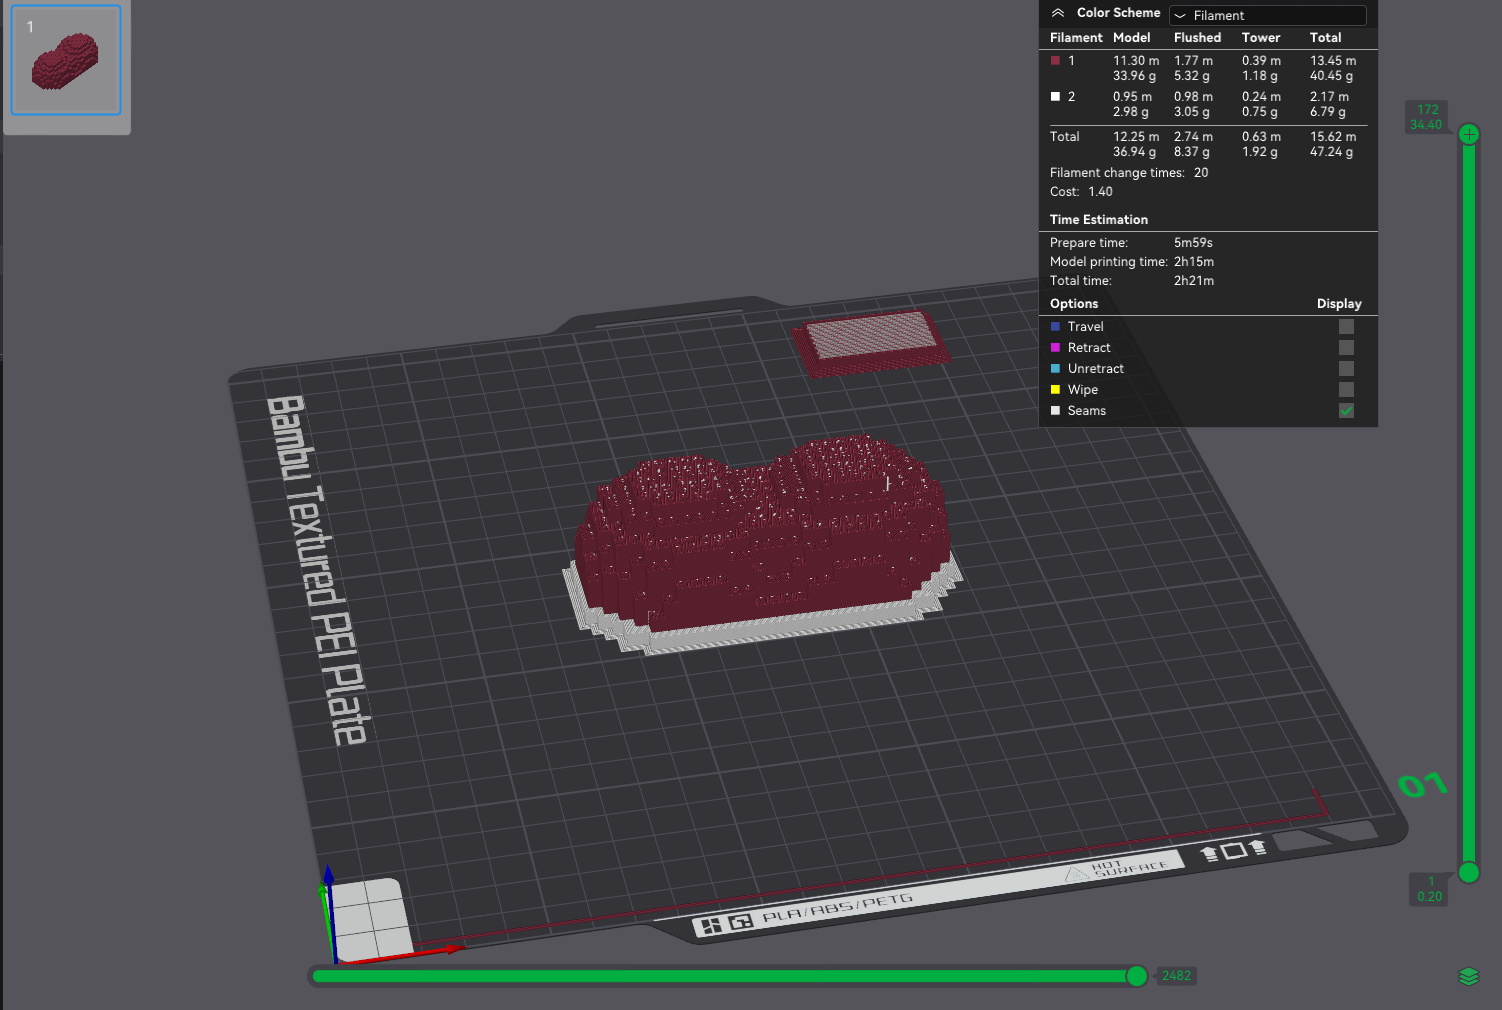

Both came out quite well! And after removing the supports, they fit together perfectly:
The Mechanism and the Electronics#
TBC…

